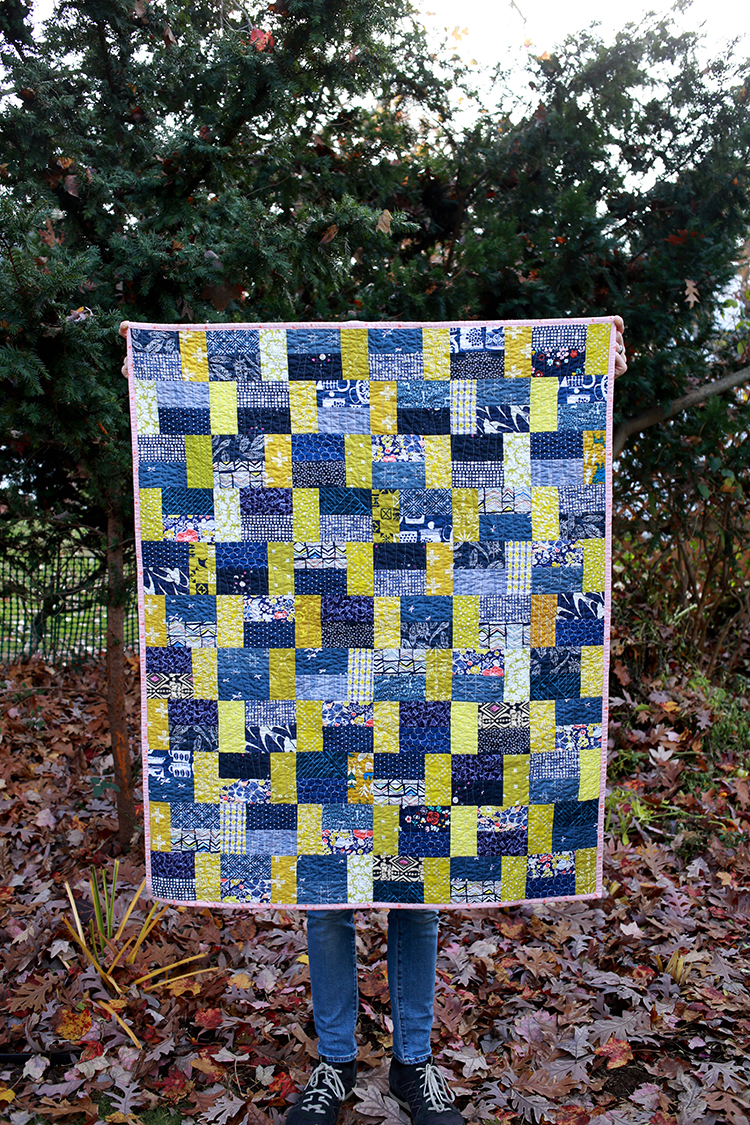
Happy Wednesday! I'm back to share a tutorial for this simple two color baby quilt that I made from my stash last year for one of our friends! First, a little bit about the quilt itself.

I had such fun making this quilt. I knew from the start that I wanted to make it completely from my stash and that I wanted it to be pretty gender neutral. I personally feel like navy and chartreuse/lime green work well for any gender! I also happen to have a good selection of both of these colors, which worked out well.
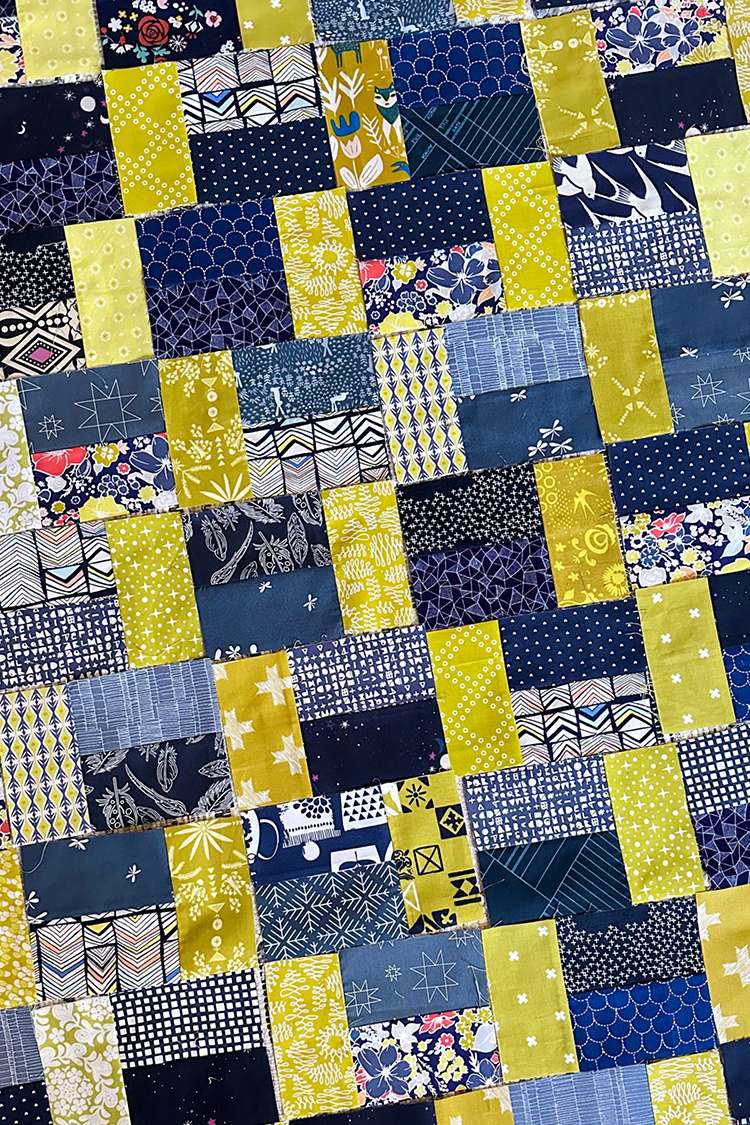
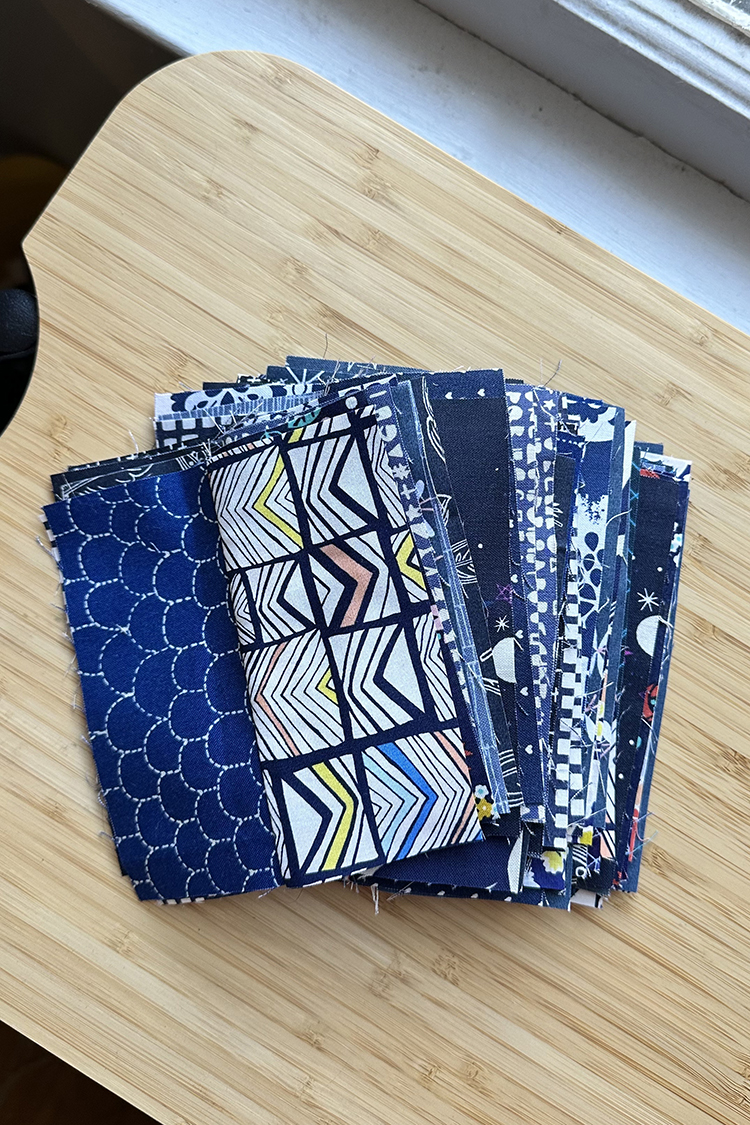
The design of this quilt is really simple, but it has a lot of flexibility. I made it with two colors, using multiple fabrics for each color. There is only one size strip to cut (hooray!), and I cut mine from a combination of scraps and yardage. The great thing about this quilt though is that you could easily cut from scraps, yardage, charm squares, layer cake squares, jelly roll strips or fat quarters. You also don't have to stick to two colors! You could go completely rainbow scrappy, you could use a neutral or single fabric in place of the green (color A) and then use many different fabrics for the navy (color B). Lots of possibilities!
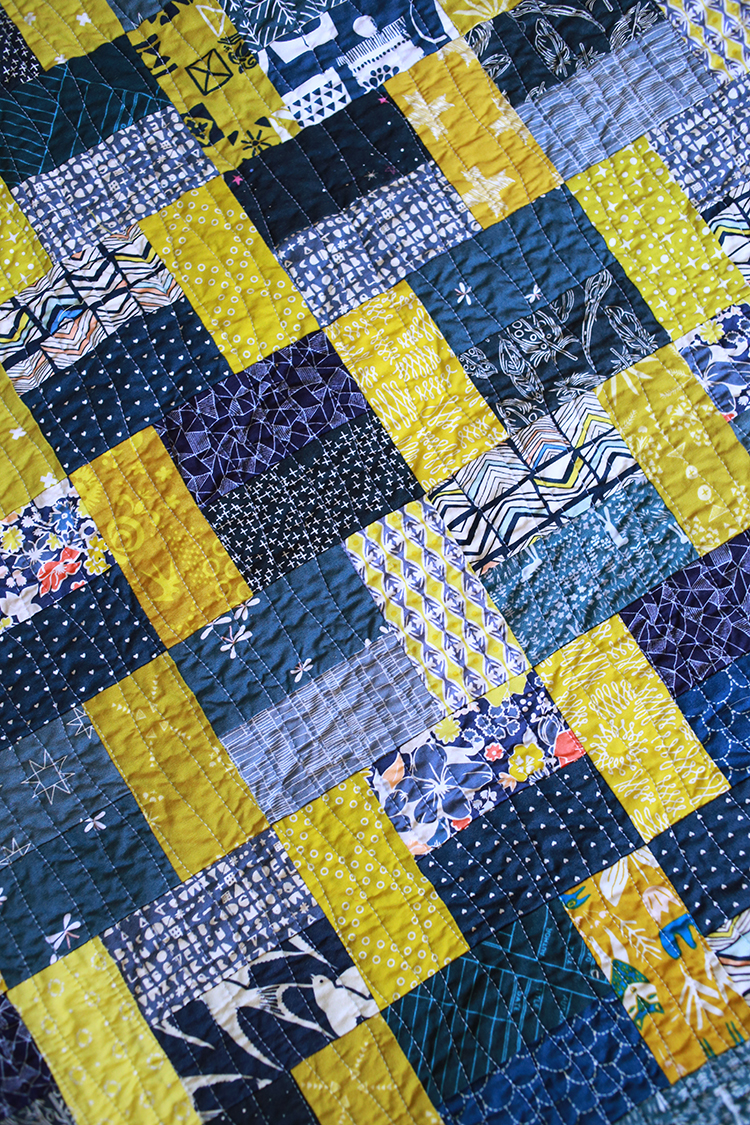
I feel like a broken record, but I did my go-to wavy lines for the quilting. It's just so easy for me to do and make look decent! It's not anything fancy, but it works for me.

For the binding I wanted a pop of color. There are a few prints that have a peachy accent, so I pulled a binding fabric to highlight that. I used one of my custom woven labels to finish it off.

Okay, now onto the tutorial!
Simple Two-Color Baby Quilt Tutorial:
Sewing Level: Beginner Friendly
Finished Size: 36"x44"
Finished Block Size: 6"x4"
Materials:
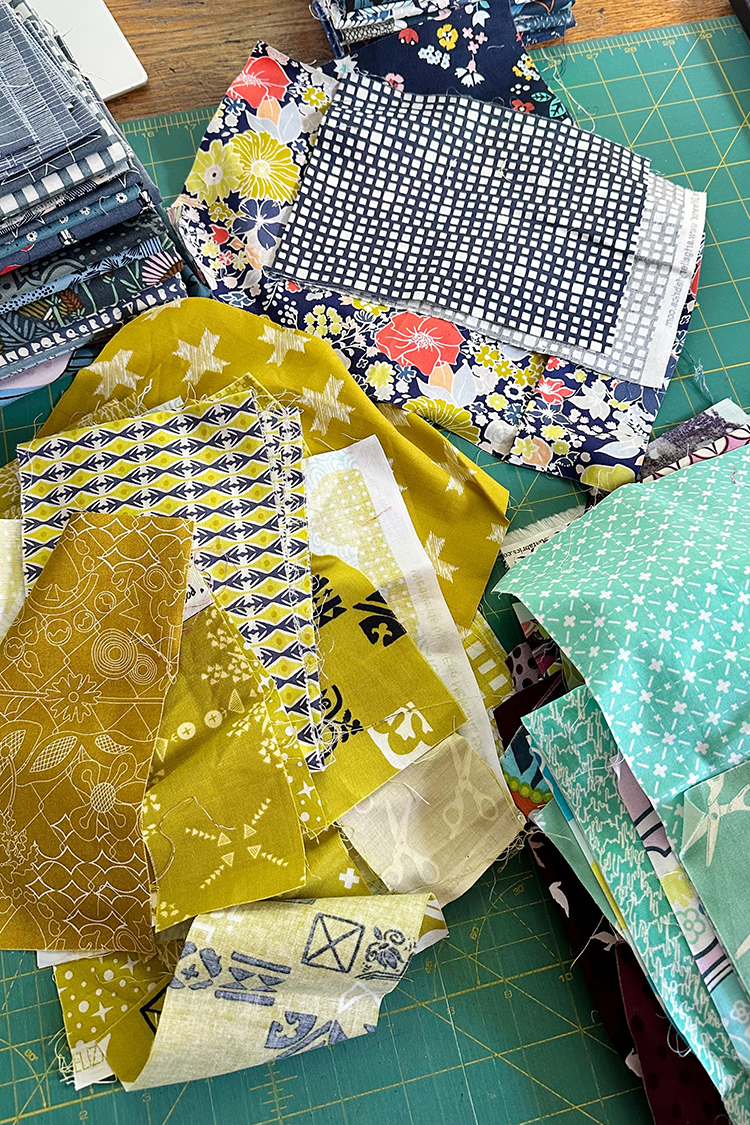
- 5/8 yard of total yardage or scraps for Color A (Green)
- 1 1/8 yard of total yardage or scraps for Color B (Navy)
- 44"x52" quilt batting
- 1 1/2 yards of backing fabric
- 3/8 yard of binding fabric

Cutting:
From Color A (Green) Fabrics:
- Cut a total of (66) 2.5"x4.5" strips
From Color B (Navy) Fabrics:
- Cut a total of (132) 2.5"x4.5" strips
You can easily cut these pieces from scraps, charm squares, layer cake squares, jelly roll strips, fat quarters or yardage. The table below shows how many 2.5"x4.5" strips you can cut from each type of precut or yardage:
| 2.5"x4.5" strips | |
|---|---|
| 5" charm square | 2 |
| 10" layer cake square | 8 |
| 2.5"x42" jelly roll strip | 9 |
| 1/4 yard cut | 27 |
| 18"x21" fat quarter | 28 |
Figuring out exactly how much you need for each color is simple. Here is an example:
For Color B I want to use charm squares. I can get 2 strips from each charm square, and I need a total of 132 strips. 132 divided by 2 is 66. So I need 66 charm squares for Color B.
Simple Two-Color Baby Quilt Instructions:
*Use a 1/4” seam allowance unless otherwise noted.*
Block Construction:
1. Each block is made using (2) Color B strips and (1) Color A strip. First we're going to pair up the Color B strips. You could pair them all up intentionally, or pair them up randomly, it's up to you!
Sew two Color B strips together along the long edges. Press seams as desired. Repeat with all Color B strips.

2. Next we're going to pair a Color A strip up with each block unit made in step 1. Again, feel free to pair them up randomly or intentionally.
Sew a Color A strip to one side of the Color B block made in step 1, so that the seams form a "T" shape. Use the photo above as reference. Press seams as desired, repeat with remaining Color A strips and block units. Trim blocks to 6.5"x4.5" if necessary.
Quilt Top Construction:

1. Arrange blocks into 11 rows of 6 blocks each, using the diagram above as a guide. The odd numbered rows will start with a Color A strip, the even numbered rows will start with the Color B strip set.
Sew blocks together in each row. Press seams in one direction, alternating direction every other row. Sew rows together, press as desired. Press top well from the right side.
Quilt Assembly and Finishing:

1. Backing: Press backing fabric well.
2. Basting: Using masking or painter’s tape, tape the backing to a clean, hard surface, right side down. Spread out your batting on top of the backing. Smooth out any wrinkles. Carefully spread out your quilt top on top of the batting, right side up. Pin your top, I like to use curved safety pins, spacing the pins a few inches apart. Make sure that your pins are going through all three layers.
3. Quilting: Quilt as desired, by machine or by hand. Trim away excess batting and backing fabric.
4. Binding: Cut yardage listed for binding into 2.5” strips. Trim off selvedges and sew your strips together to form one long strip, press seams open. Fold in half lengthwise, pressing with your iron as you fold. Attach binding using your preferred method. For a detailed tutorial on attaching your binding to both sides by machine: Machine Quilt Binding Tutorial.

I hope you've enjoyed this tutorial! I have lots of other tutorials for everything from quilts, pillows, bags, and holiday items to informational series and techniques. Find all my tutorials here: Tutorials. My online shop is filled with patterns for quilts and bags. Find my patterns here: Jeni Baker Patterns
Tag me @jenib320 and use my hashtag #jenibaker on instagram if you make something from this tutorial!
Happy Quilting!


Thanks for the tutorial. Great for a quick baby gift. So glad to see you are blogging more frequently! Smithcindyk@gmail.com
ReplyDeleteI love this and it’s a great gender neutral quilt! Ihave been wanting to use a over abundance of certain colors in my stash and this will be a big help. Thank you!
ReplyDeleteI love this because I’m now retired and I need to use up some of the fabrics I’ve been collecting over the years. This tutorial will make lots of charity quilts quickly!
ReplyDeleteGlad you are feeling better. I Love the quilt colors. Doris
ReplyDeleteoh jeni, what a lovely tutorial and such a gorgeous little quilt. thanks for sharing as always and inspiring us once again. cheers (:
ReplyDeleteThis is an absolutely perfect stash buster, and soon to be a ''go to'' quilt pattern that will be used frequently. I belong to a small quilting guild that creates quilts for a local Hospice. Our group is always looking for a fun and quick pattern to follow and this pattern fits our needs perfectly. Thank you. Pictures to follow after a few quilts are made.
ReplyDeleteDonna Weeks aka Momma Llama (dweeks4602@gmail.com)
What a perfect little quilt! Thank you for the tutorial.
ReplyDeleteLove this quilt/pattern, thank you for sharing it…
ReplyDeleteBeautiful quilt, thank you for sharing the pattern/process!!
ReplyDeleteHi I like your quilt that would be so easy for me to sew, and i love that you’ve quilted this with long slightly curvy line. I’ve quilted my first ever 5ft by 5ft quilt like that on my lovely old Bernina, no walking foot fits. Thank you for this lovely idea.
ReplyDeleteI made this with whites and blacks for a friend just gifted ,unfortunately can not post photo on the comments on Pinterest .I am relatively new to quilting ,so horizontal lines quilted in the ditch ,and the vertical lines a few inches from each side ,from the other side that was 5 1/2 inch squares .
ReplyDeleteThis is simple and beautiful, would love to experiment with colours! Thanks for such a great tutorial!
ReplyDeleteI love this quilt. What fabric did you use?
ReplyDeleteIt's a mix of fabrics from my stash!
DeleteI am a new quilter and this seems like a quilt I can manage. Thank you!
ReplyDelete