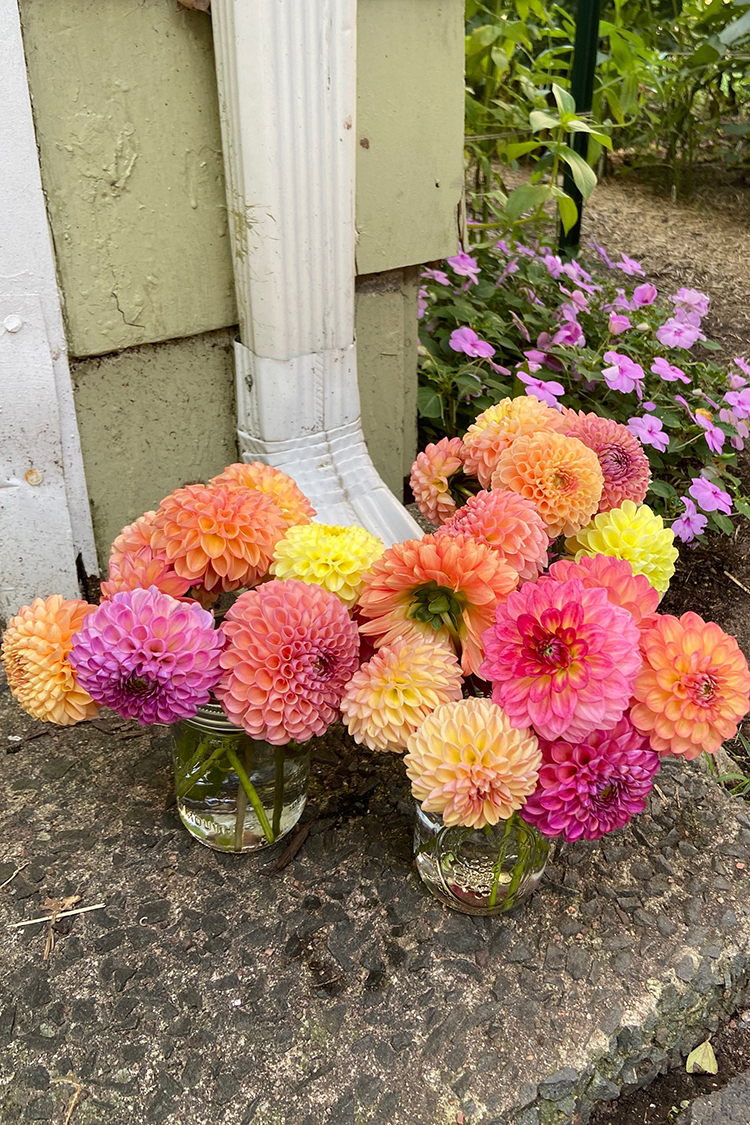
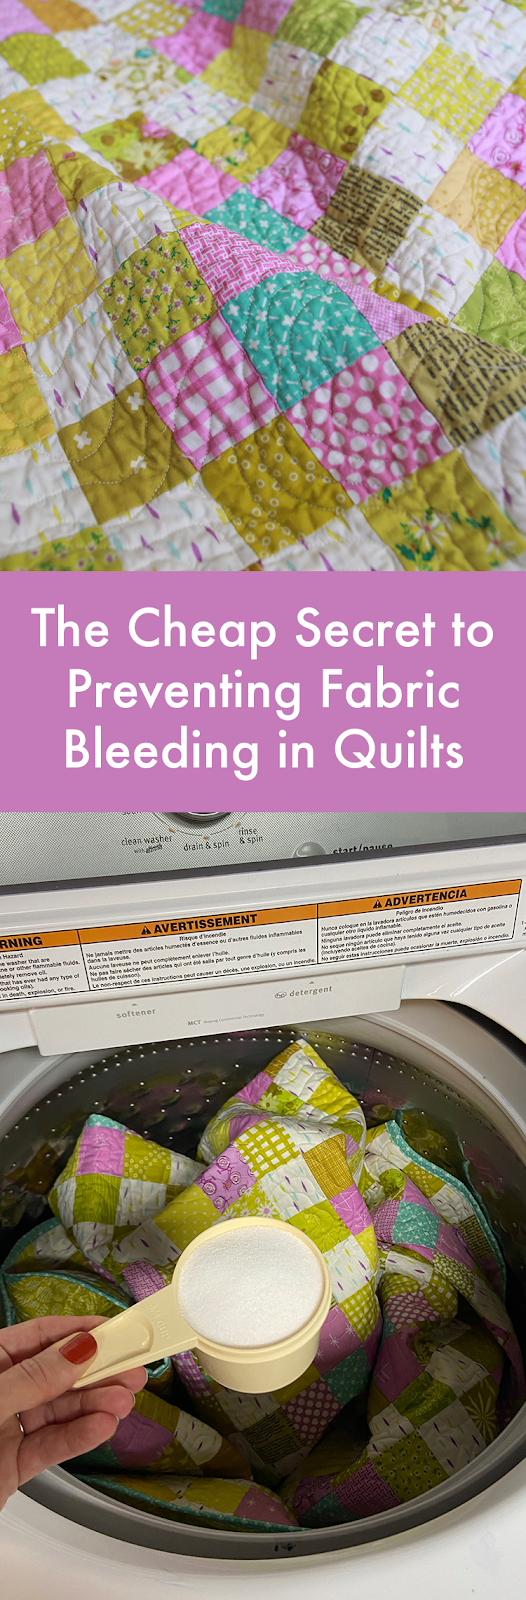
Happy Wednesday! Today I wanted to share my secret for preventing fabrics from bleeding when I wash my handmade quilts. I'll also share my basic instructions for washing/drying quilts. I have mentioned this "secret" a few different times over the years, but I wanted to share it in a dedicated post.
As a quilter there are few things worse than pulling your finished quilt out of the dryer to discover that the fabrics in your quilt have bled. When I've experience issues with washing my quilts in the past it has felt pretty devastating. For me a quilt isn't finished until it's had a trip through the washer and dryer, so when something goes wrong during this "last step" it feels like I didn't stick the landing! That satisfied feeling I'm expecting to feel quickly turns into frustration and sadness. I think it's safe to say we all want to avoid that!

Before we dive in I want to preface this advice by saying that I typically do not prewash my fabric for quilts. Specifically quilting cottons. When I'm making quilts from fabric that's intended more for garments like double gauze, chambray or lawn, I always prewash the fabric before making the quilt. You could follow the steps below for pre-washing fabrics for a quilt if you'd like!
While we're on the general topic of avoiding quilt washing issues, save yourself some trouble and do not use a water soluble/disappearing ink marker on a visible part of your quilt. I learned the hard way that it's removal is not always straightforward (short story: don't mix disappearing ink markers with stain fighting products and hot water). Read more about that incident here:
Sherbet Pips Quilt & a Lesson Learned.
The fabric bleeding mishap that was the last straw was my
Mendocino Dreams Quilt that I made back in 2012. It was a big quilt, so I used two
Shout Color Catchers* when I washed it. And I still had fabric bleeding in a few places. I was so upset (this quilt was easily 40+ hours of work), I knew I needed to figure out a different method for washing my quilts to avoid this in the future.
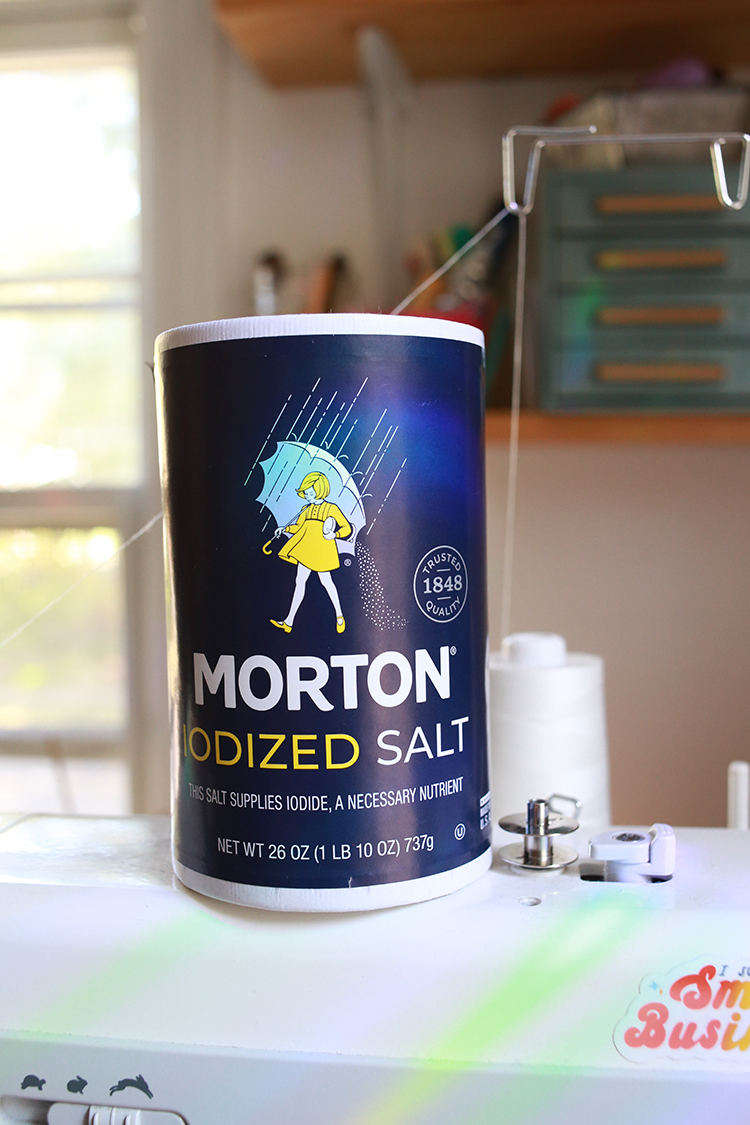
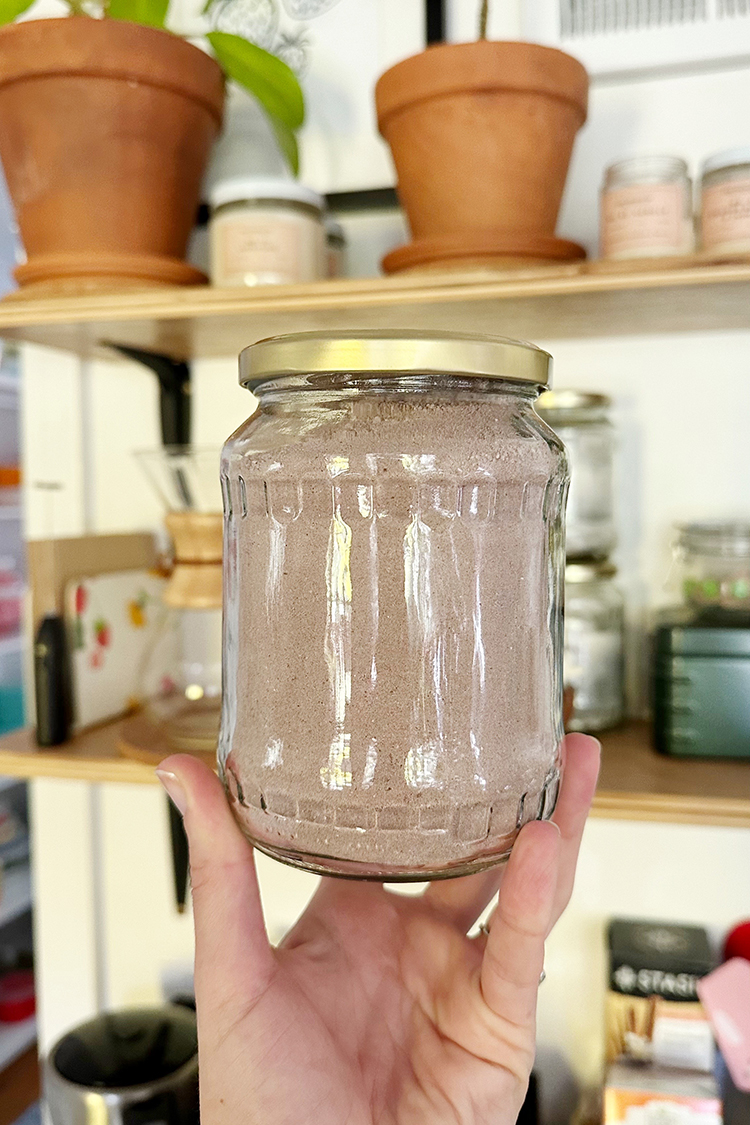
The secret is... table salt! No more expensive color catchers for me, just plain old table salt. I've used iodized, non-iodized, name brand, generic brand and it doesn't seem to matter, they all work. I have not tested this with kosher or sea salt.
I'm happy to report that since I started using this trick, I have had ZERO issues with fabric bleeding. I think I started doing this around 2013, and I have made a lot of quilts since then. Here's how to use it when washing your quilt:
 Disclaimer: The results I've acheived using the following steps have worked for me, but I cannot guarantee that they will work for you. Please follow these instructions at your own risk and use your own judgement to decide what is right for you, your quilts, and your washing machine.
1. You'll want to
start with a finished quilt! I am always so excited to wash mine so I usually get right up from my machine when I finish binding and head for our laundry nook.
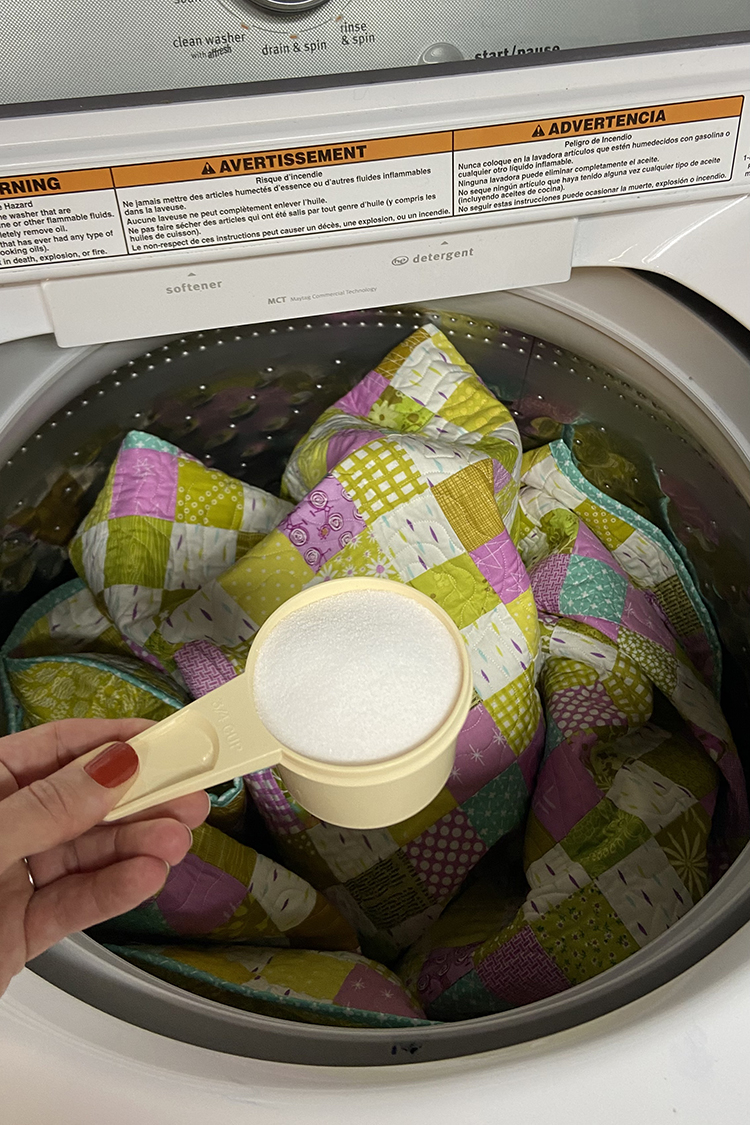
2. Add your quilt to the washing machine. For either a top loading (what I've got!), or a front loading,
add 1/2 cup - 1 cup of table salt to the machine, right in with the quilt. I use more or less depending on the size of the quilt. (I usually only do this step the first time I wash a quilt, but if I'm particularly worried about bleeds I'll do it on subsequent washes too.)
3. Add your preferred laundry detergent. I like to
use a laundry detergent without fragrance or dyes (I use
these tablets* specifically). It's surprising how many conventional laundry products have dye in them. If your liquid (or pod) detergent has a color to it, it most likely is from a synthetic dye. I recommend avoiding this if you can, when washing a handmade quilt.
This is the liquid detergent* I used for years before switching to tablets, which is available at most big box or grocery stores.
4. Set your machine to a
gentle cycle and wash with cold water.
5.
SET A TIMER. This is so important. Probably the most important thing you can do to prevent fabric bleeding in your quilt. You want your wet quilt to sit in the machine, after the wash cycle has finished, for as little time as possible. In my experience, letting wet fabric sit against wet fabric often results in fabric bleeding. 10-15 minutes shouldn't be anything to panic about, but I would try to avoid anything longer than that. Definitely would not recommend throwing a quilt in the wash before you go out to run errands or something!
6.
Check your quilt for stains or bleeds before drying it. It's easier to deal with them before they head into the dryer and get set.
7.
Dry your quilt. There is a lot of room for personal preference here. For me, I absolutely love the wrinkle crinkle on a finished quilt, so I dry my quilt completely in the dryer, usually on medium heat. I used
wool dryer balls* to help it dry evenly, minimize static and make it nice and fluffy! If your quilt is particularly delicate or you want to minimize shrinking, I would recommend drying it on lower heat and pulling it out of the dryer early to let it air dry the rest of the way.
An interesting thing about this trick is that if you search "salt fabric bleeding" or "using salt in laundry" it actually pulls up a few "laundry hacks that didn't work" type of articles. This is a good reminder that it may not work in every situation for every person. I feel confident sharing this trick anyways because it has worked for me for the last 50+ quilts I've made. Just remember to pair it with good quilt washing practices like using cold water and not letting the quilt sit wet in the washer for too long.
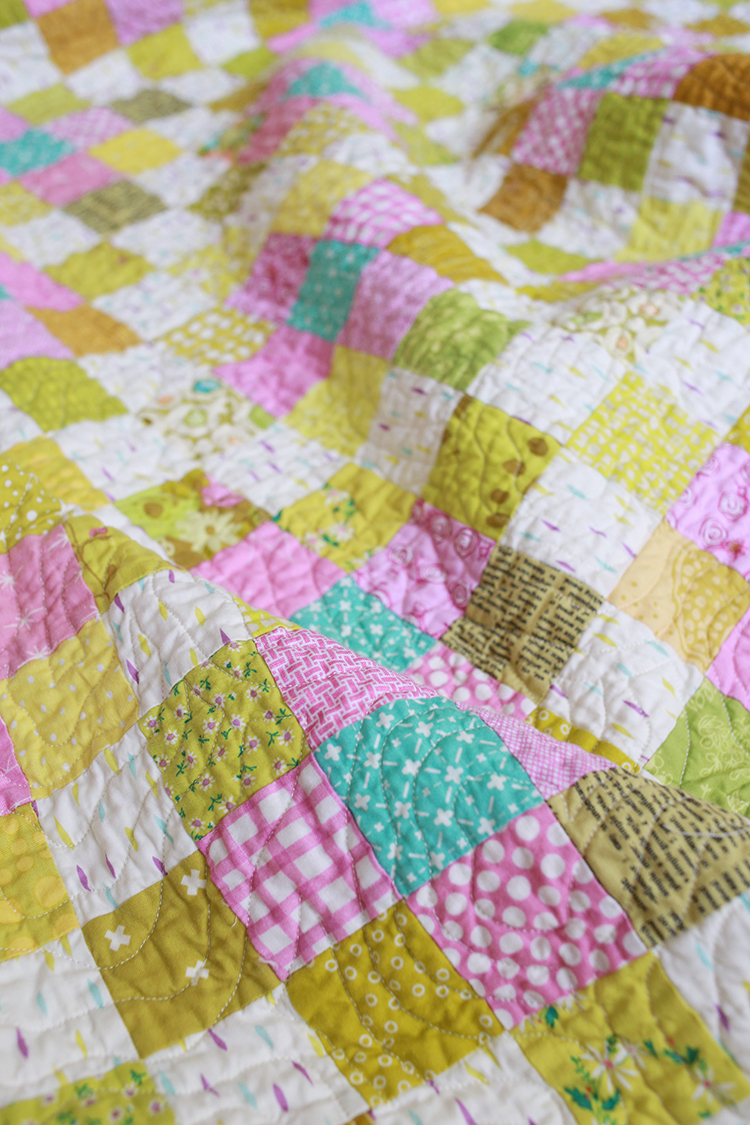
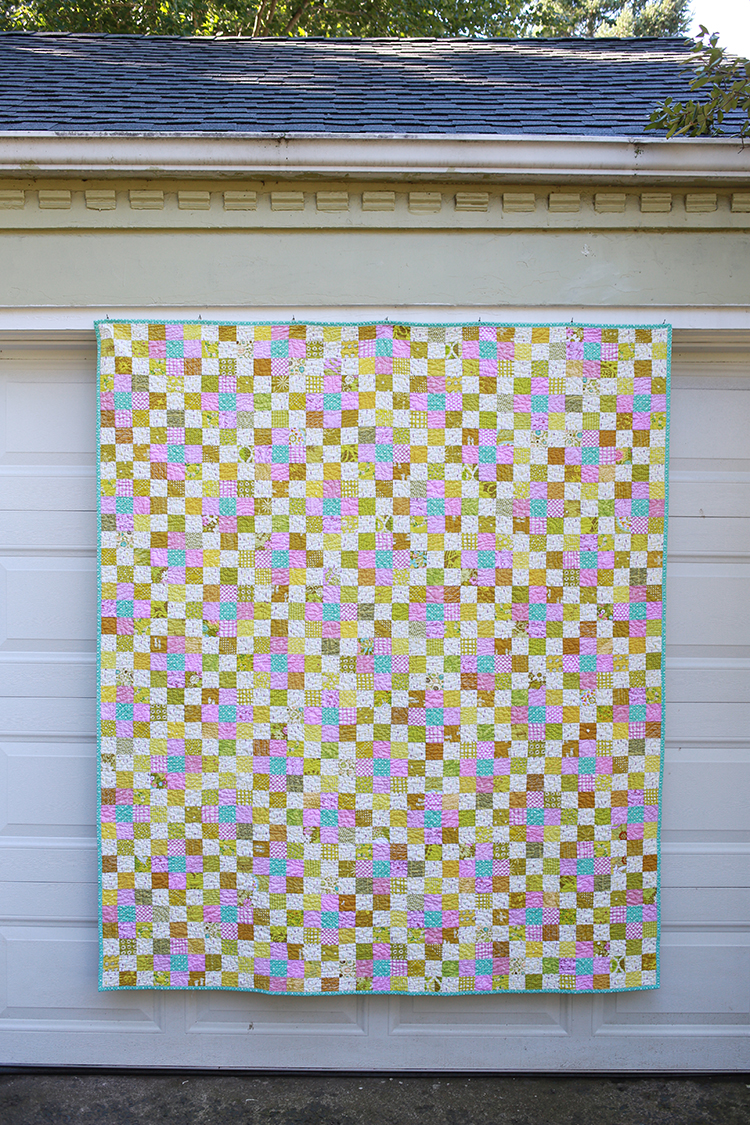
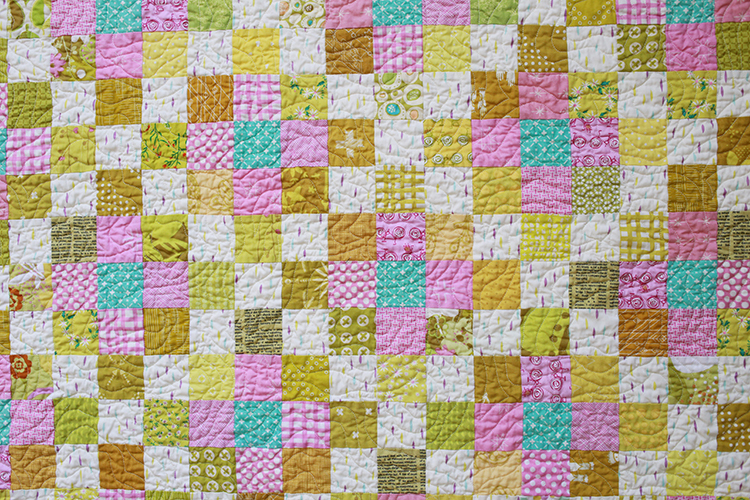
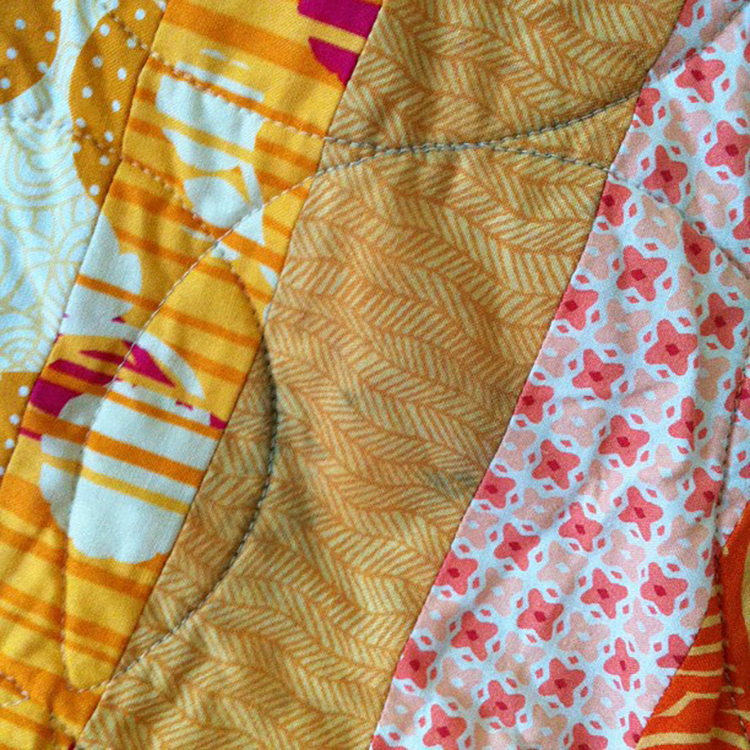
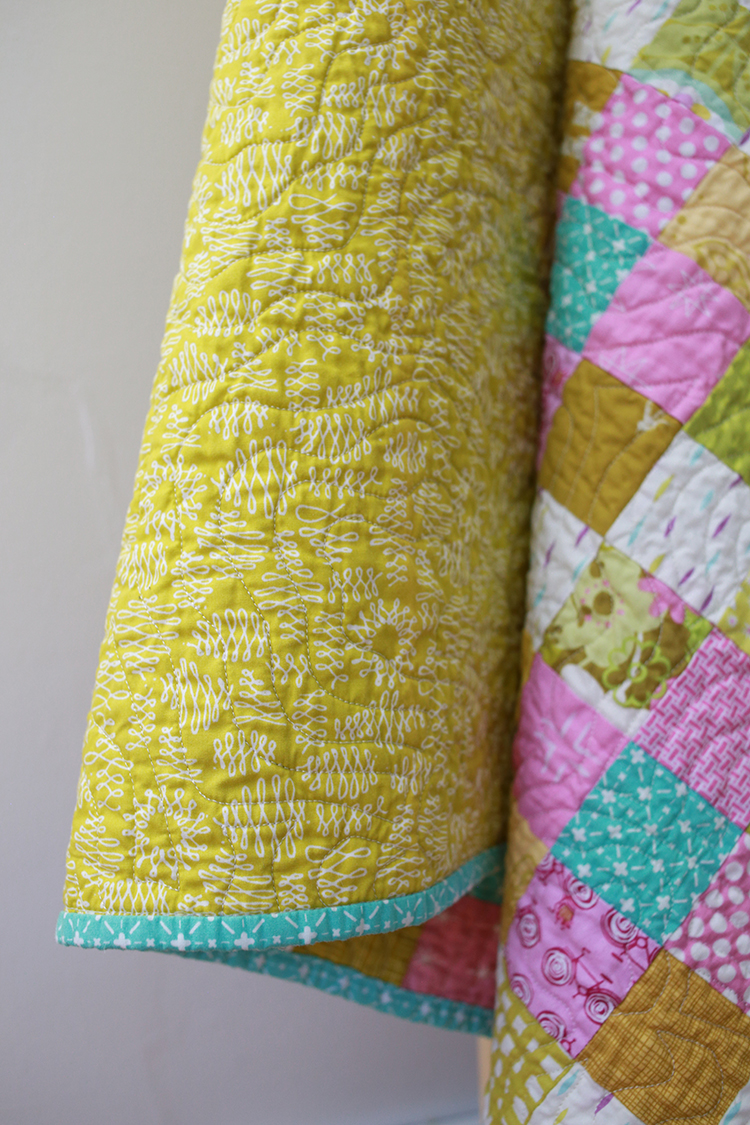
I wanted to share a few specific quilts as testimontials to this method. The following quilts were washed using these steps and came through unscathed with no bleeds. A few were quilts with blocks made by a group of people (so a large variety of fabrics), and or quilts with high-contrast and/or deep colors.

Black and White Heart Quilt for Amanda

Fantastic Leftovers Quilt

Finished Scrappy Pineapple Quilt

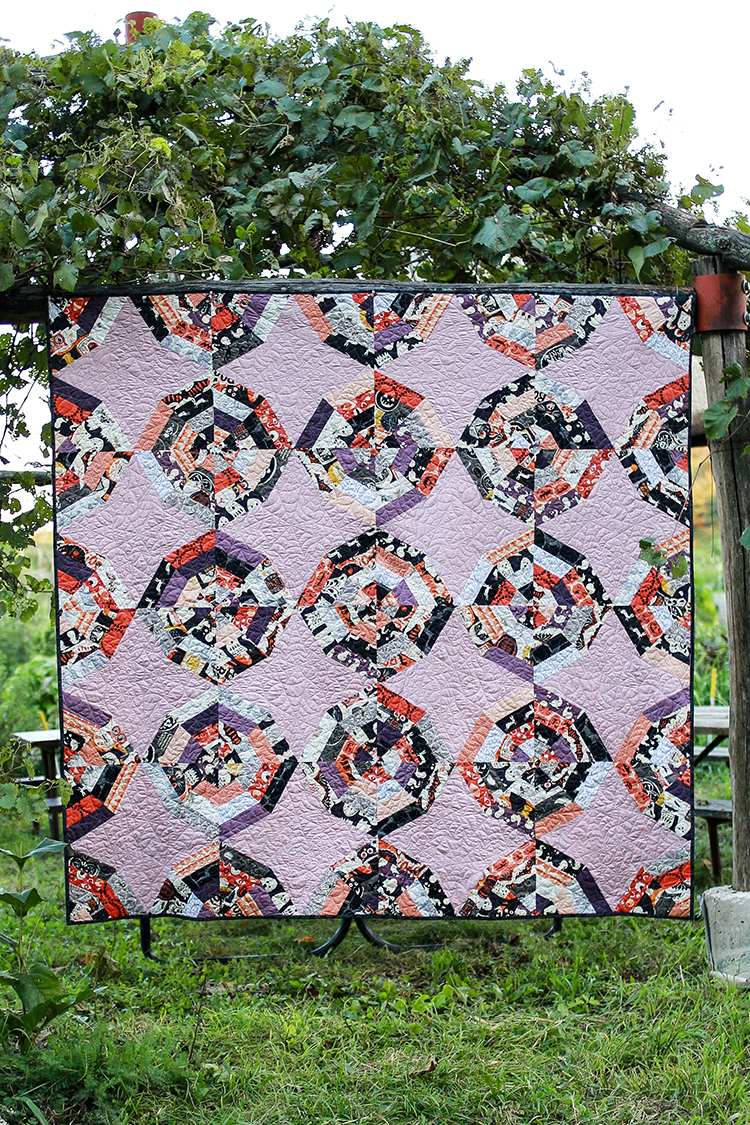
Tula Pink Kaleidoscope Quilt
I hope you've enjoyed this informational tutorial! I have lots of other tutorials for everything from quilts, pillows, bags, and holiday items to informational series and techniques. Find all my tutorials here:
Tutorials. My online shop is filled with patterns for quilts and bags. Find my patterns here:
Jeni Baker Patterns
If you make something using one of my tutorials or patterns, I hope you'll tag me
@jenib320 and use my hashtag
#jenibaker on instagram!
Don't forget to pin this post to your Pinterest for future reference! :)
 Happy Sewing!
*Note: Any links marked with an asterisk in this post are affiliate links. This means if you click through and buy something, I make a small commission, at no extra cost to you.
Happy Sewing!
*Note: Any links marked with an asterisk in this post are affiliate links. This means if you click through and buy something, I make a small commission, at no extra cost to you.