Friday Favorites 29

Friday, July 29, 2022


Happy Friday! It's time for another Friday Favorites post!

- I've been wanting to go blueberry picking ever since we moved to the east coast and I finally went this week! I went to Bishop's Orchards (one of our favorite places), in Guilford, CT and picked four quarts!

- This fun reel by Katie Gouwens shows her quilting a top made from my Giant Vintage Star Quilt Pattern! So pretty, and I love the quilting design she chose.

- Speaking of patterns, I have a new one in my shop, the Expanse Quilt Pattern. For all your big HST quilt needs! I'll share more about it in a dedicated post next week!


- I made these muffins from Pinch of Yum on Wednesday. We had zucchini to use up from our CSA and I already had everything else. They were really good, a keeper recipe for sure!

- I'm finally doing this quilt puzzle* that my Mom gave me, it's a good one!

- Love everything about this quilt by Tara Faughnan. It has such great movement.


- Kind of a silly project, but I finally cut out and added vinyl shapes to the temporary door* we added to be able to close off our kitchen. We can't go out the back door without a certain kitten being way too interested, so this was our solution. It's not super attractive, so I dressed it up with the help of my Cricut Maker* and some holographic vinyl!

- Current favorite animal video on the internet!

- Finished the second book in this series* that I mentioned a few weeks ago. Loved it even more than the first, I am so excited to keep reading. It's such a great feeling to get into a book series, I missed it.


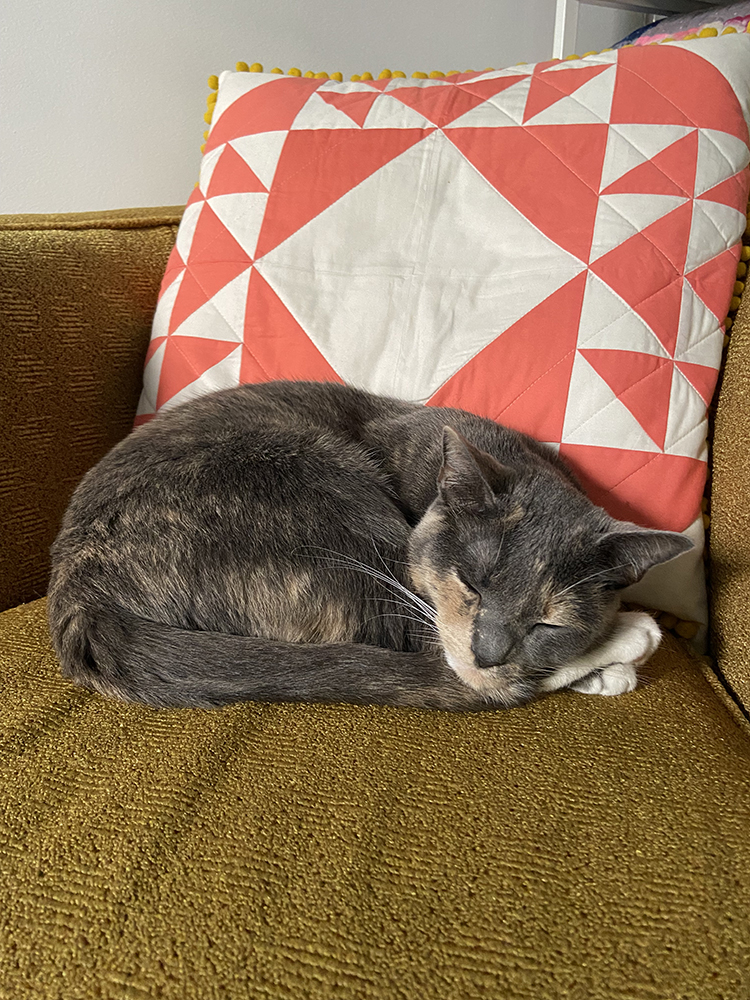
- Dusty was VERY interested in watching the Cricut cut out all the shapes.

Have a Great Weekend!

*Note: Any links marked with an asterisk in this post are affiliate links. This means if you click through and buy something, I make a small commission, at no extra cost to you.

Mid-Summer Garden Update

Monday, July 25, 2022


Happy Monday! I wanted to share an update on how our garden is doing so far this season. If you missed it, I shared my plans for this year's garden here: Garden Plans for the 2022 Season.


I'm so excited about how well the garden has been doing so far this year! We haven't had a lot of rain and it's been pretty hot the last few weeks, but I've stayed on top of the watering. The dahlia patch on the side of the garage is about to explode into bloom anytime now. I had my first dahlia bloom back in June, which is so early for me! I learn a little bit more every year I grow these plants. This past weekend I put in another level of corralling to hold the plants up. Here are a few dahlia bouquets that I've already picked so far this season:


The first bouquet I picked! Loving these colors.


This dahlias are all seedlings! I grew them from seeds that I saved at the end of last season. I'm so proud of them. Michael is going to help me name the ones that I decide to keep.


I picked this bouquet over the weekend. Finally starting to get a few other varieties to bloom!!


My hanging baskets have filled in so well. Impatiens aren't necessarily my favorite, but they do so well in the shade on either side of our front door!


On a whim I direct sowed some calendula seeds in a pot pretty late in the Spring without much expectation. They've done so well and have given me a lot of joy! I have some in ground too, but the pot of them has done so much better! They're bringing lots of bees to the vegetable garden which is great. They're also just so cheerful to look at.


Speaking of a cheerful flower, I'm growing giant orange marigolds for the first time this year. I loved growing the chrysanthemum style 'Mission Giant' marigolds last year, and I'm growing those again too. The orange ones look like a giant tall version of a standard marigold. The bees seem to like them too!


The self-seeded rudbeckia have been showstoppers this season! There is such a variety of shapes and colors, some of them have so many petals! I've refrained from deadheading any of them in the hopes that they will self-seed again.


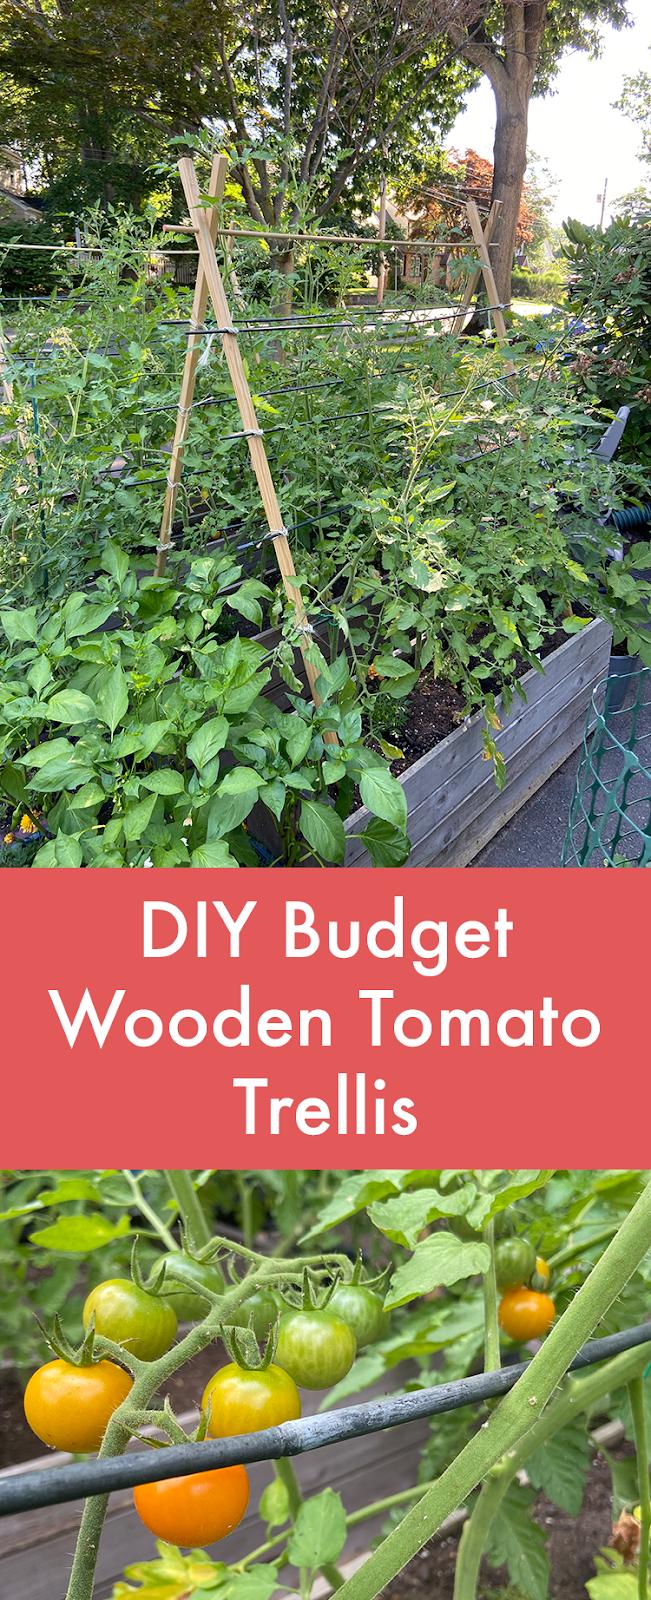
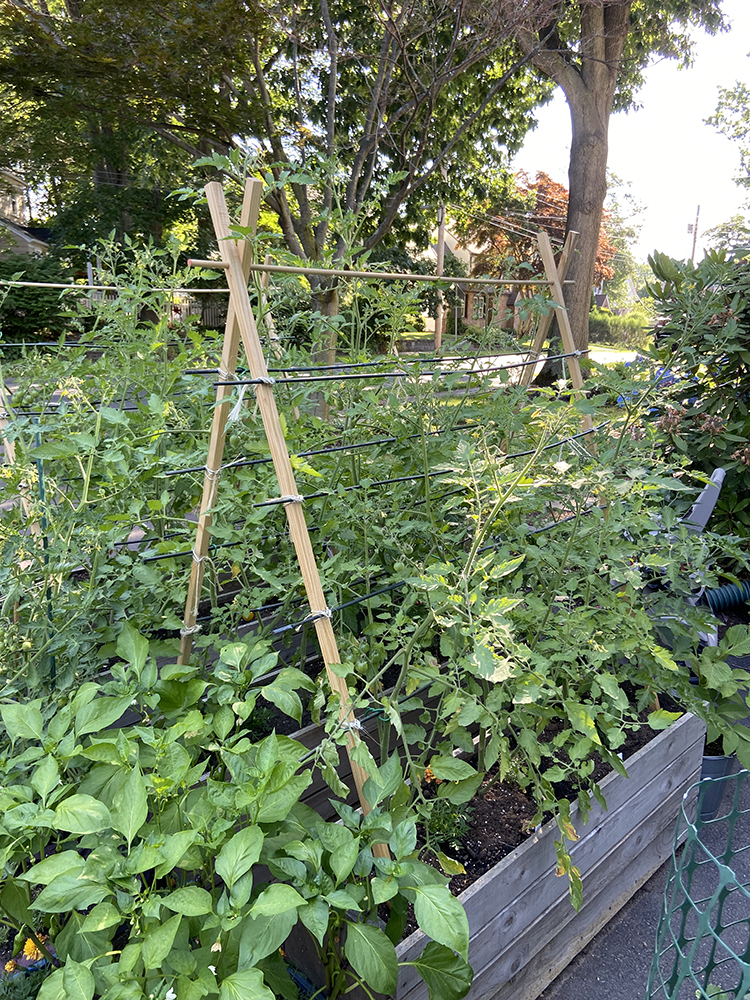
The vegetable garden is doing great! I picked the first cherry tomato on July 1st, which felt so early! A few weeks ago I shared a tutorial for the wooden trellises I made for them, you ca find it here: Tutorial: DIY Budget Wooden Tomato Trellis.


We've been picking tomatoes every other day at this point. We're really loving the sungold tomatoes, this was our first year growing them. We also are liking the sunsugar tomatoes too, they're somehow even sweeter!


Very excited to try the first sunrise bumblebee tomatoes this week! They're so pretty, with their stripes. I hope they taste as good as they look!

That's it for now! I've been sharing little snippets of the garden nearly every day on my personal instagram @jenihanna, if you're interested in following along for more regular updates!

Happy Gardening!

Friday Favorites 28

Friday, July 22, 2022


Happy Friday! It's time for another Friday Favorites post!

- Current stack of cookbooks from the library, can't wait to dive into these. From top to bottom: 1*, 2*, 3*, 4*.

- These teacher gifts that Lydia and her daughter made with my Lined Drawstring Bag Pattern are awesome. Such a great idea!

- Discovered the work of Julianna Swaney via Pinterest. So sweet.

- Made rice pudding for the first time ever this week, don't know why I waited so long! I used my friend Deedrie's recipe.


- Despite my vast collection, sometimes I window shop on etsy for more vintage sheets. Someone should buy this one* so I don't!

- In other fabric news, I'm tempted to pick up some of this print*. It's just so cute!!

- This video by Pam Selkirk made me smile, so adorable!

- Binged the first two seasons of this show while working on my quilt. Honestly not 100% sure how I feel about it, but will keep watching.

- I've recently fallen in love with this soda. My favorite flavors are vintage cola and strawberry vanilla!


- Dusty kitty testing out a recently finished baby quilt. I think it passed her test!

Have a Great Weekend!

*Note: Any links marked with an asterisk in this post are affiliate links. This means if you click through and buy something, I make a small commission, at no extra cost to you.

Progress Check In: Vintage Sheet Bear Paw Quilt

Wednesday, July 20, 2022


Happy Wednesday! I've been thinking a lot lately about how I share my work and how much that process has changed and evolved over the years. When I first started to share my sewing projects online, it was through Flickr. Then eventually I started this blog. A few years later Instagram and social media took off, and I started sharing there too. Each platform lends itself to a different type of sharing. At some point I started posting less casual sewing progress here on my blog, sharing it on Instagram instead. I'd like to share that kind of thing here again. Hopefully that ramble made sense to anyone other than me!


As I mentioned in my June Monthly Report, I pulled out an old work-in-progress, my Vintage Sheet Bear Paw Quilt. I started it back in 2019, but for the last year or so I've made little to no progress on it. The other day I was looking for a project to sink my teeth into and I decided to pull this quilt out. I love to work with vintage sheets and I loved the blocks I had already made for it.


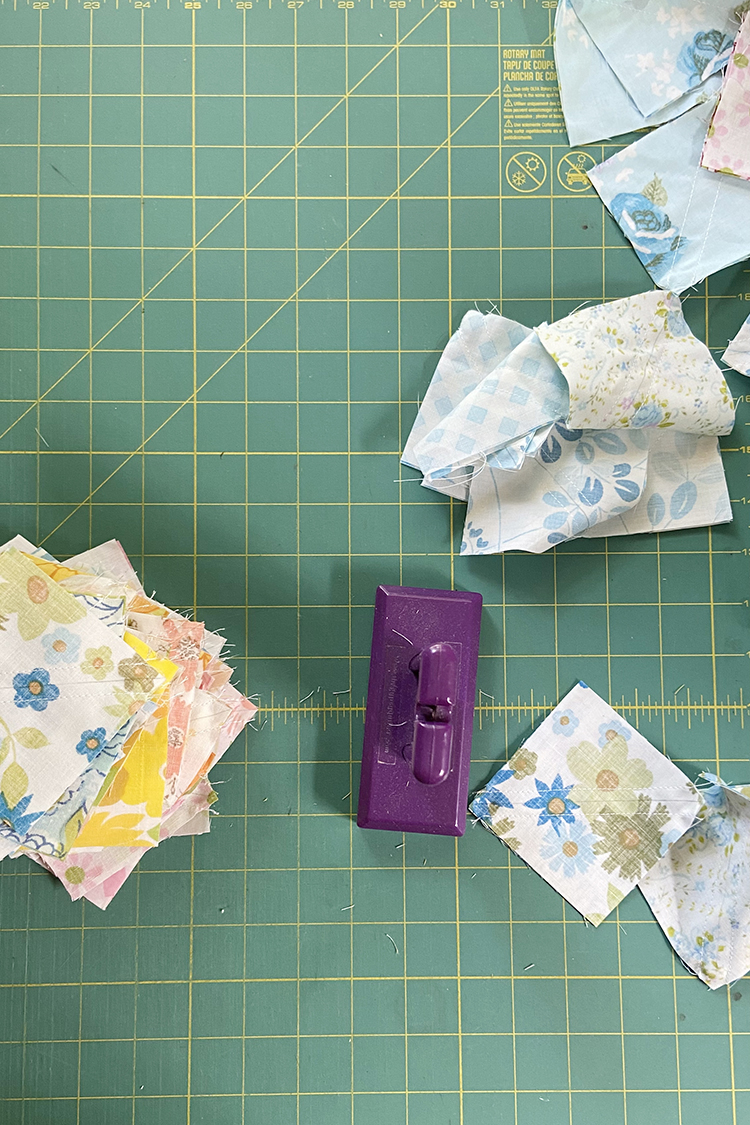
I have nine fully complete blocks, but thanks to my renewed dedication to the project, I now have a batch of newly finished block quarters to make another 12 blocks. I'm making them in big batches this time around, which is working really well so far.


I've been working by color, first focusing on pinks, some oranges and some blues. My next stack of squares is all greens. Then I'll tackle the yellow and the purples. I'm leaving the blocks in quarters for now so that I can arrange them into blocks when I get through all the colors I'm using.


Depending on the task and how hot it is, I'm either working in the sewing room, in our office, or in front of the tv in the living room. It's easiest to cut upstairs, since all my fabric is there. But it's great to be able to trim and pressing downstairs where it's cooler.


This past weekend I was trimming and batch of half-square triangles and realized I was using quite a bit of force to move the cut. When had I last changed my rotary blade? If you're looking for a sign to change your blade (or needle), this is it! A quick change and wow, so much better. Since they get dull relatively slowly I sometimes don't notice until I've been using a dull blade for weeks!


Dusty kitty has been helping me work on this project. Keeping me company and supervising. Making sure I'm doing everything just right! So thoughtful.


I know it's not for everyone, but this is my kind of sewing, working assembly line style or in batches. It works so much better for me than making each block start to finish. I'm not sure why I was making this quilt that way before. Perhaps to get myself out of my comfort zone? Either way, I'm glad to be back to my usual style of work. It's also perfect for binge watching tv, which is fun.


I can't wait to get these block quarters sewn up into blocks. They're so bright and happy. It feels good to be making progress on this quilt. The quilts I've made with vintage sheets are some of my very favorites and I know this one will be too. Hoping to keep up this pace and finish this quilt in the next month or so!

Happy Quilting!

Friday Favorites 27

Friday, July 15, 2022


Happy Friday! It's time for another Friday Favorites post!

- I love pink and strawberries so I couldn't resist this doctored up box cake recipe. It's so pink! It was good.

- This beautiful mural by Racheal Jackson is so cheerful!

- I finally upgraded my mask game to something more colorful and ordered these this week. I'm honestly excited to wear them!

- Michael has been loving this series* and I decided to read it too. I finished the first book this week, it was awesome!


- I happened upon a Polyphemus Moth while watering one morning, it was easily the biggest bug I've ever seen. Big thanks to Liz Movius-Held for helping me identify it!

- We got zucchini in our CSA and used it to make this simple salad. Would definitely make it again!

- I love these colorful light fixtures, they'd look so cute over a kitchen table. Wish I had somewhere to put one!

- These crocheted log cabin squares by Little Woolie are so fun. I really need to learn crochet!!

- Absolutely love this vintage florals quilt by Xanthe. So good!


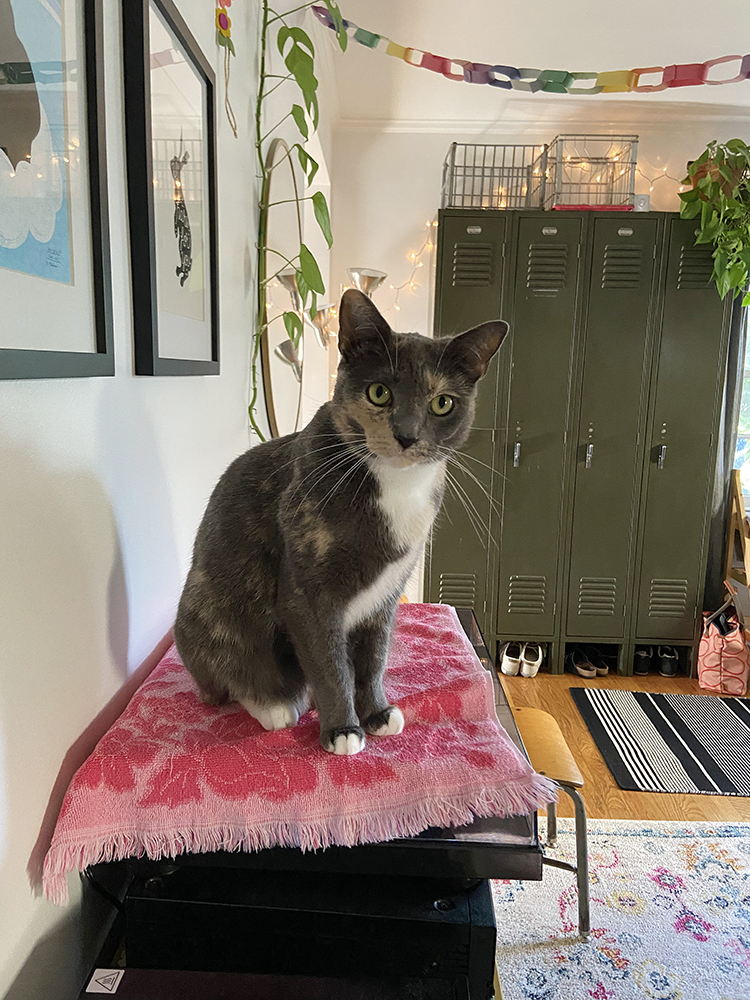
- Dusty likes to sit on our turntable when we go into the kitchen, not sure why! I put a towel on top so it's a little more comfy. :)

Have a Great Weekend!

*Note: Any links marked with an asterisk in this post are affiliate links. This means if you click through and buy something, I make a small commission, at no extra cost to you.

Tutorial: DIY Budget Wooden Tomato Trellis

Wednesday, July 13, 2022


Happy Wednesday! Today I wanted to share a little DIY tutorial for the wooden trellis that I built for my garden this year! These support my indeterminate cherry tomato plants.
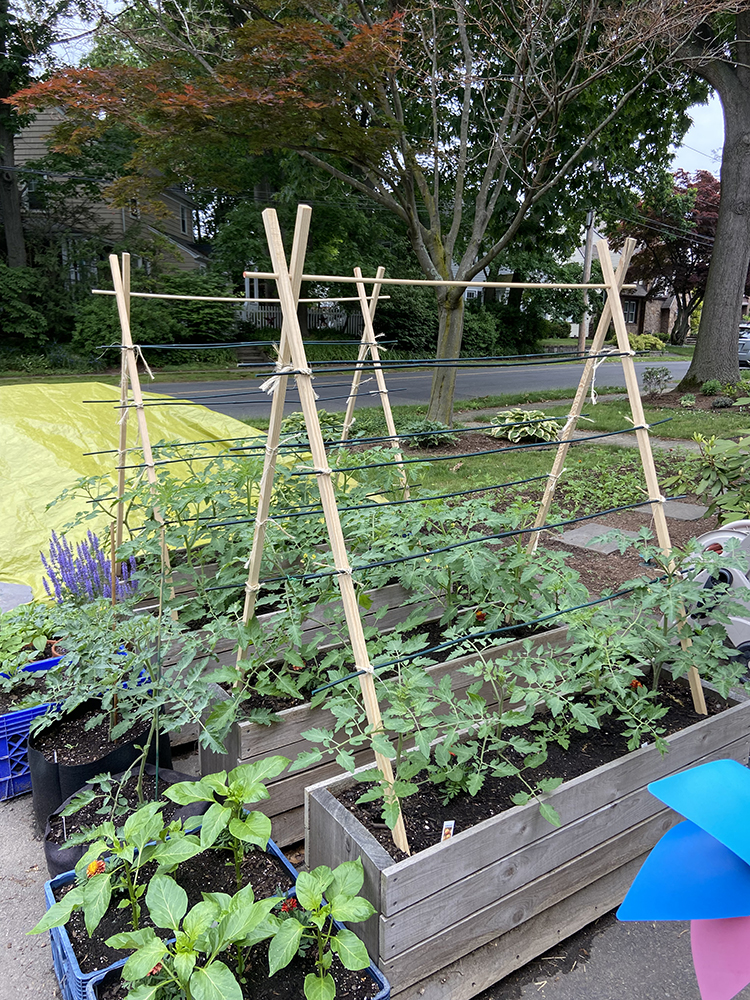

I had a few goals in mind when deciding how I wanted to support my cherry tomatoes this year. I wanted something that was low-budget, strong, easy to store and that had multiple anchor points into the dirt to keep it as stable as possible. I looked at tons of different trellises and just couldn't find anything ready-made that fit what I wanted. Plus, everything I did find was out of my budget. So, time to make something myself! I ended up spending around $20 per trellis which I'm really happy with! Of course it's going to depend on the prices of materials where you live and if you already have some of these supplies on hand.

For off season storage, this trellis folds up flat! I am very excited about that because traditional tomato cages take up a lot of room.


I built my trellises to fit my planter boxes, so feel free to adjust the size to fit your needs. I'm not sure I'd go too much wider without adding additional vertical support, but you could definitely make it shorter or narrower very easily! The depth of the trellis is flexible since the stakes move around the dowel. I have my stakes positioned around 2-2.5' apart. The materials listed below are what you'll need to make one trellis.

Disclaimer: I've only been using these trellises in my garden for about a month! I don't know how they'll perform once they've got fully-grown tomato plants all over them. I also don't know how many seasons they will last. I am hopeful on both those counts, but time will tell! I'll post an update at the end of the season.

DIY Budget Wooden Tomato Trellis

Finished size: Approximately. 4.5' tall, 4' wide, varying depth.

Materials & Tools Needed:
- (4) 5 ft. Wooden stakes*
- (8) 4 ft. Bamboo stakes*
- (1) 3/8" 4ft Wooden dowel
- Twine
- Small galvanized nails (around 1.5" long)
- Hot glue gun (I'm still obsessed with this one*)
- Drill and 7/16" drill bit (or 3/8" drill bit)
- Sandpaper
- Hammer
- Tape Measure
- Pencil
- Dead-blow hammer* (optional)

Instructions:

1. On all four 5 ft. wooden stakes, drill a 7/16" hole through the center of the side of the dowel, 5" from the top flat end (not the pointy end). If you're like me and you only have a 3/8" drill bit on hand, that will work too with a bit of extra work. Secure a small piece of sandpaper to the end of a pencil. Use this to sand the inside of each hole enough so that the dowel will fit snuggly.

2. Lay 2 stakes on the ground so that the hole you drilled in step 1 is facing to the side and the flat side is facing upwards. Measure and make a mark 12.5" from the top, then three marks 7.5" apart below that. See diagram above.

3. Hammer in a small nail at each of the pencil marks. These will act as little shelves for the horizontal bamboo stakes.


5. Arrange the two stakes around 40" apart from each other. Place a bamboo stake at each nail mark, spanning across the distance between the two wooden stakes. Use a small dot of hot glue to secure the bamboo to the wooden stake.

6. Tie the bamboo to the wooden stake at each intersection with twine for extra security. Now you've completed one trellis panel.

Repeat steps 2-6 for the second trellis panel.


7. Lay one trellis panel upside down on the ground with the bamboo stakes touching the ground (we'll call this the "back panel"). Place the second panel on top of it, with the bamboo stakes facing upwards (we'll call this the "front panel"). You'll end up with the wooden stakes staggered so that the back panel stake is on the outside on one end and the front panel stake is on the outside on the other end.

8. Make sure the holes you drilled in step 1 are aligned and begin gently pushing the 3/8" wooden dowel through the two stakes on one end. It's going to be a tight fit, so you may need to twist the dowel as you go to get it through both holes. Continue pushing the dowel through until you reach the other stakes. Use a dead-blow hammer as necessary to get the dowel all the way through both sets of stakes.


The tight fit will allow you to open and close the trellis so that you can easily store it over the winter. If it's not super tight, you could temporarily secure it with a little hot glue or some twine.


9. To install the trellis simply push the pointed ends of the takes into the ground or planter box.


As your tomato plants grow (or whatever you're growing on the trellis!), weave them through the bamboo stakes and/or use ties to secure them to the stakes.

I hope you've enjoyed this tutorial! I have lots of other tutorials for everything from quilts, pillows, bags, and holiday items to informational series and techniques. Find all my tutorials here: Tutorials. My online shop is filled with patterns for quilts and bags. Find my patterns here: Jeni Baker Patterns

If you make something using one of my tutorials or patterns, I hope you'll tag me @jenib320 and use my hashtag #jenibaker on instagram!

Happy Gardening!

*Note: Any links marked with an asterisk in this post are affiliate links. This means if you click through and buy something, I make a small commission, at no extra cost to you.

Friday Favorites 26

Friday, July 8, 2022


Happy Friday! It's time for another Friday Favorites post!

- We've been making cold brew coffee lately, and I whipped up a quick reusable filter bag with some unbleached muslin. It's going on it's maiden voyage tonight!

- I thrifted some mini loaf pans and tried them out by making mini cakes using this recipe. They only needed about 45 minutes. (Forgive me if I've shared this recipe before, but it's so good.)

- I also thrifted a cute lego puzzle* this week. They also had one that was all mini figure faces, but it looked a bit too hard for my liking!


- I've been folding and packing patterns this week and I could not do it without this tool*. I've had it for 10 years at this point and it's essential.

- This fabric bundle* is really tempting me. I can't resist a good basic, especially in so many colors!


- This week brought with it our first tomato harvest!! I am so happy that it's tomato season. For me it's Summer tomatoes or nothing. These sungolds are so nice and sweet!

- I recently picked up this special issue magazine* from Better Homes and Gardens, there are tons of great ideas in it!

- How sweet are these drawstring bags that Cynthia made with my tutorial? Love the fun fabrics!

- I'm rewatching The Queen's Gambit this week and spotted a Cathrineholm coffee pot* in the second episode. I'd love to add one to my collection one day!


- Dusty enjoying the sunshine.

Have a Great Weekend!

*Note: Any links marked with an asterisk in this post are affiliate links. This means if you click through and buy something, I make a small commission, at no extra cost to you.

June Monthly Report

Wednesday, July 6, 2022


It's time for the June monthly report. See past reports here.


June was a strange month! There was a lot going on in my personal life, including having my parents to visit, plus my Mom again on a solo visit. Despite everything going on I still was in the sewing room a decent amount. I didn't finish much, but that's okay! I did repair a pair of shorts, which doesn't sound like much of an accomplishment but I had been putting it off!

My one finish for the month was this lined drawstring bag! When I was cleaning I found my stash of cork fabric scraps. I had just enough to add it to an everything size drawstring bag. This particular variation is in the expansion pattern, the bottom accent variation. I have been hanging onto these navy strawberries for a while, I'm glad they're finally sewn up into a project.

Lined drawstring bag pattern (+ expansion pattern), the cotton twill tape and beads can all be found in my online shop.


I stitched up a baby quilt top! My stash of baby quilts has become delpeted again, so I pulled a few fabric stacks to make some. I used my Scrappy Bear Paw Baby Quilt Tutorial for this one. The top is finished and I have a backing cut and pressed, I just need to get it quilted. Hopefully this week or next!


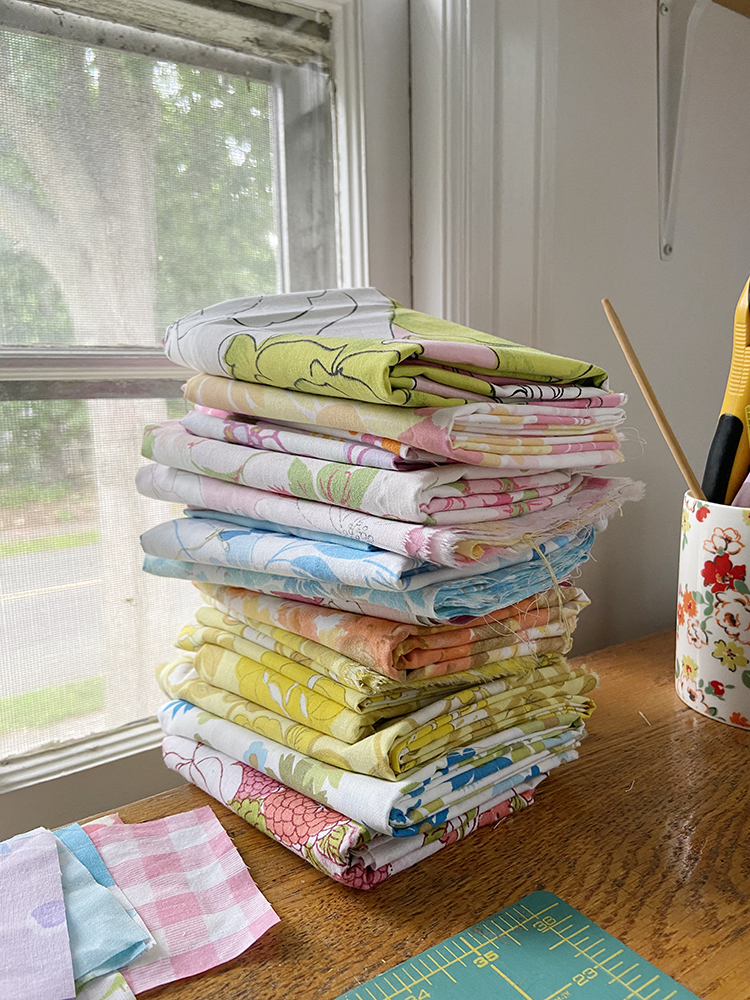
Speaking of bear paw quilts, I have pulled out my vintage sheet bear paw project again. This time I'm changing my strategy. Before, I would pull fabrics and cut each block as I went. This is not how I typically like to work, so it's no wonder the project has stalled. I've been spending about an hour every day or so cutting block pieces. It's a lot of work, since the blocks have different background fabrics and I'm working from my whole stash of vintage sheets rather than a curated bundle. I know all those prep work is going to be worth it though, and it will make the proejct move along faster!

To keep myself accountable for my stash goals, I track my yardage for fabric and yarn each month. Read more about how I track here. Here is how I did in June:

June Fabric
Used up: .75 yard
Brought in: 0 yards
Net: -.75 yards
Year to date: -19.25 yards

June Yarn
Used up: 0 yards
Brought in: 0 yards
Net: 0 yards
Year to date: 0 yards

No major movement this month on my stash goals, but I was still in the negative on fabric, so I'm happy with that!


Time to check in my with 2022 crafty goals. This month I:
- I picked a backing for my all green quilt.
- I pulled/cut fabrics for my vintage sheet bear paw quilt.


Dusty kitty enjoying a nap on an armchair.

Have a Great Month!