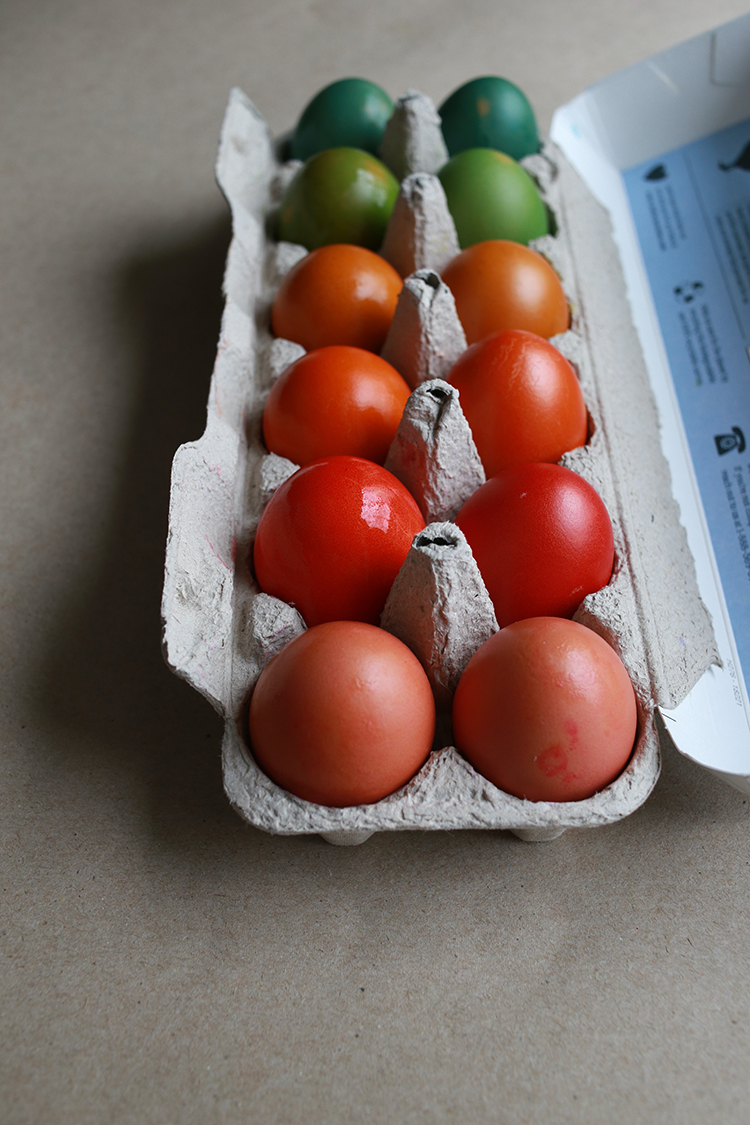
Happy Monday! I have a crafty how-to post to share today!

I really enjoy dyeing eggs every Spring, but we don't eat a lot of hardboiled eggs. So a few years ago I tried dyeing raw eggs, and it worked great! Just a little extra care when dyeing and I've got a fridge full of colorful eggs to use for baking and breakfast for dinner! I took some photos while I dyed this year so I could share with you all. Let's dive in!


I like to use the simple egg dyeing kits from the grocery store (or Target). Some years I've found a kit that has purple, but this year I picked up just a standard color kit. The kit I used was just the dye tablets, egg dipper and some stickers, so I used my own containers to dye the eggs. One of these days I'm going to try dyeing them with food coloring, but I also love to buy the kits!

I find wide mouth mason jars work nicely, since they're tall and not too wide at the base. Follow the instructions for disolving the dye tablets with vinegar and then diluting with water.

There is no prep needed for working with raw eggs! You just need to be extra careful when lowering the eggs into the dye cups as well as removing them. I wouldn't necessarily recommend dyeing raw eggs with small children, I think it would most likely result in some broken eggs!

I used one dye kit (6 tablets) to dye two dozen eggs. First I dyed a dozen white eggs! These get nice and bright. I let them sit in the dye for five mintues each. After I lower the eggs into the cups, I like to add an extra splash of water if needed to cover them completely to help avoid undyed spots.

To keep the colors from getting muddy, I keep a small dish of clean water and a paper towel at the ready. I quickly rinse the egg dipper after each dip into dye and blot it on the paper towel.

I dry the wet eggs right in the cardboard carton. Make sure to let the extra water drip off into the cup after lifting it out of the dye. It doesn't take too long for them to dry, and I find it easier than using the cardboard container that the dye kit came in!

Here are the white eggs all dyed up! I dyed these first, and I did each egg for 5 minutes in the dye cup.
 After I'm done dyeing white eggs, I love to dye a dozen brown eggs too, right in the same dye liquid. These I let sit in the dye cup for 10 minutes each.
The two different eggs take the color so differently! Hard to believe these two sets of eggs were dyed with the same kit, right? Now I will smile every time I crack an egg until these are gone! Do you prefer the bright white eggs or the muted brown eggs? I think I like the brown a little bit more!

I hope you've enjoyed this little how-to! I have lots of other tutorials for everything from quilts, pillows, bags, and holiday items to informational series and techniques. Find all my tutorials here: Tutorials. My online shop is filled with patterns for quilts and bags. Find my patterns here: Jeni Baker Patterns
If you make something using one of my tutorials or patterns, I hope you'll tag me @jenib320 and use my hashtag #jenibaker on instagram!
Happy Crafting!


our chickens lay a variety of colors (so its always a little Easter-y!) but I wonder what they would look like dyed? Might have to try it! I love the brown ones!
ReplyDeleteThanks for posting how you dye raw eggs. Your eggs are gorgeous. I love seeing things in color order. I don't have little ones here but my daughter has little one AND fresh eggs from her chickens, both white and brown, and might enjoy seeing how you dye the eggs. I suppose it would work with hard-boiled eggs, too.... Thanks again!
ReplyDeleteI concur with Nancy above...in "I love seeing things in color order"...I have to say you really are crafty...crafty JB :)
ReplyDeletei love this jeni. thanks every so much for a bit of fun and gorgeous colour to start our day.
ReplyDeletesweet to see the little kits again. sigh, childhood memories from a long time ago. have a most
wonderful day.