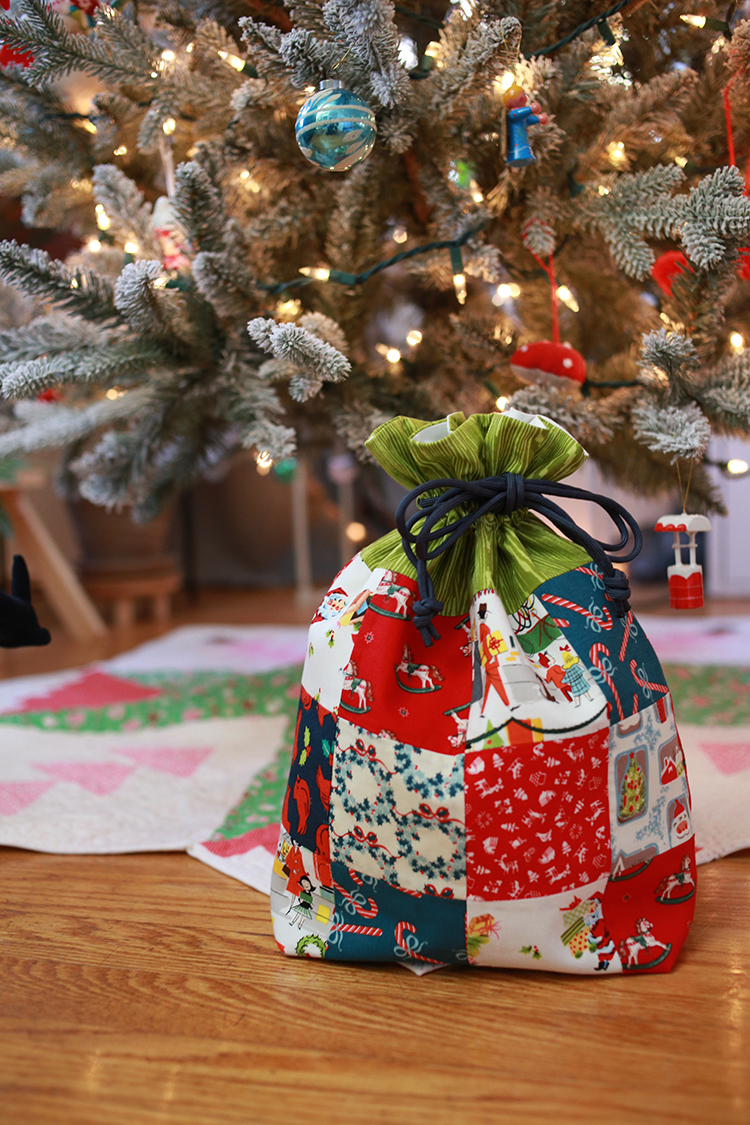
Happy Wednesday, and welcome to week four of the Lined Drawstring Bag Sew Along! If you're just joining in on the fun now, you can find all the previous sew along posts here:
Lined Drawstring Bag Sew Along Schedule. This is the last of the formal sew along posts, but I'll be sharing more of my personal projects later this week or early next. I'll also be sharing your projects in my Instagram stories this week!
Today I have another tutorial for you! We'll be adding a simple slip pocket to the exterior of the bag! Perfect for a small gift, gift tag or small card! Or make a tiny pocket and use it for the tooth fairy! We'll be working with the Everything Bag size (same as the
tutorial), but there are tips at the end of the post for adding one to other sizes from the pattern.
For reference:
Lined Drawstring Bag Tutorial
Lined Drawstring Bag Pattern
Lined Drawstring Bag Expansion Pattern

I was inspired to write this tutorial after making some drawstring bags from thrifted button down shirts last year. Read more about those bags in this post:
Upcycled Lined Drawstring Gift Bags + How to Cut up a Button Down Shirt .
I had originally planned to simply repurpose the fabric from the shirts, but ended up repurposing the pockets too. They turned out so cute, I knew I wanted to eventually write this tutorial. You'll find instructions for a simple pocket, but you could definitely get creative and make different style pockets to add to your bags! A dress shirt style pocket or maybe a pocket with a rounded bottom would be really fun.

The instructions below are for a 4" finished pocket. Head to the end of this post for guidance on other pocket sizes and apply pocekets to the other bag sizes.
 Sewing Level: Beginner Friendly
Finished size:
 Approx. 10" tall, 7" wide, 3" deep
Pocket Lined Drawstring Bag Materials:
- 3 Fat quarters (18"x21")
- 1 Fat eighth pocket fabric
- 2 yards of
1/2" twill tape, or 1/8 yd fabric
- Coordinating thread
- Acrylic ruler
- Large safety pin
- Water soluble pen
Looking for supplies? Check out my
Pattern Supplies and Resources post.
Pocket Lined Drawstring Bag Cutting:
From Exterior Main Fabric:
- Cut (1) 9”x21” strip
- Subcut into (2) 9”x10.5” pieces
From Exterior Accent Fabric:
- Cut (1) 4”x21” strip
- Subcut into (2) 4”x10.5” pieces
From Interior Fabric:
- Cut (1) 12.5”x21” strip
- Subcut into (2) 12.5”x10.5” pieces
From Pocket Fabric:
- (2) 4.5" squares
If using fabric for ties:
- Cut (2) 32”x2” strips
If using twill for ties:
- Cut (2) 32" pieces
Pocket Lined Drawstring Bag Instructions:
 *Use a 1/4” seam allowance unless otherwise noted*
Before constructing the bag, we first need to make the slip pocket and attach it to one of the Exterior Main pieces.

Place pocket pieces right sides together. Pin around all four sides, leaving a small opening for turning in the side that will be the bottom of the pocket.

Sew around all four sides, backstitching when you start and finish, leaving the opening unsewn.

Trim seam allowance down to 1/8" at the corners to reduce bulk.

Turn pocket right sides out and press well. Top stitch along the top edge of the pocket piece.

Center the pocket across the width of the Exterior Main piece (for the Everything Bag 10.5" is the width) and place it 1" down from the top edge of the Exterior Main piece.

Pin pocket in place.

Top stitch along both sides and the bottom to secure the pocket to the exterior and close up the opening left for turning. Trim away any threads and press well.
For bag construction, refer to the
free tutorial or the
lined drawstring bag pattern. If you need extra guidance on the construction, please refer to the
video tutorial.

Here are the approximate maximum size pockets you could add for each bag size included in the
Lined Drawstring Bag Pattern. Also suggestions for how far down to place the top of the pocket on the Exterior Main. For a pocket that is completely centered in the finishd bag exterior, I recommend checking out my
Lined Drawstring Bag Expansion Pattern. It explains exactly how to find the center of the exterior main and how to center something on it, in great detail!
|
Max. Finished Pocket Size* |
Placement from Top Edge |
| Tiny Bag |
2"x2" |
3/4" |
| Snack Bag |
4"x3" |
3/4" |
| Everything Bag |
5.5"x5.5" |
1" |
| Project Bag |
7"x7" |
1" |
| Artist Bag |
9"x9" |
1.25" |
| Laundry Bag |
17"x10" |
2" |
| CD Bag |
5"x5" |
1/2" |
| DVD Bag |
9"x7" |
1/2" |
*Add .5" to both dimensions of the desired finished pocket size when cutting.
(Example: Finished pocket size 2"x2", cut pocket pieces 2"x2")

I hope this tutorial is useful! It's a simple addition to a plain bag, that makes it even cuter for gifting!
Happy Sewing!


