Pages
▼
Thursday, April 27, 2017
Work in Progress Bags
As someone who always seems to have lots of different projects going at once, figuring out how to store works in progress is an issue. It's important to make sure project pieces don't get separated from each other, which is made more challenging when you add in pattern pieces and instructions. I have been using ziploc bags to store most of my projects for the last few years, but thought it was high time I upgrade that system!
Enter Amanda Jean's Work in Progress Bags Pattern (this pattern has been discontinued and is no longer available). It's the best of both worlds. I can still see into each bag, just like the ziplocs, but they're much sturdier and prettier! These should hold up way longer than the plastic bags I was using (and reusing). I couldn't make just one, of course! I ended up making eight. The pattern includes six different sized bags, and I made two each of four sizes.
I chose fabrics based on the zipper colors I had on hand. I was able to use leftover quilt binding for two of them, which was great! I used 16 gauge clear vinyl for all my bags.
I buy all my zippers from Zipit.
I made two 8"x8" bags, which are the smallest size in the pattern. They're just the right size for 6" blocks or some leftover half-square triangles.
Next up, I made two 9"x12" bags. These will be nice to small projects like zipper pouches, mini quilts, etc.
I think this is probably the most versatile size for me personally, 14"x14". These easily fit 12" quilt blocks, and are quite roomy!
Finally, I made two of the largest size, 16"x18". I currently have my next Archer Popover in one.
These were fun to make, and I know they'll get plenty of use over here. I love how cute they are, and the smaller sizes would be great for using up leftover pieces of vinyl.
Happy Sewing!
Tuesday, April 25, 2017
Giant Log Cabin Jelly Roll Quilt
I have a confession to make. This is the first project I've made with a pre-cut that wasn't a charm pack or fat quarter/eighth bundle!
In late 2013, I picked up a Carolyn Friedlander Botanics roll-up, my first (and only) jelly roll. I know there are tons of jelly roll patterns and ideas out there, but I just never felt particularly inspired to use it.
Until now! Earlier this year, Jacey stitched up a big log cabin baby quilt. I loved the sweet and simple design, and knew it was perfect for my jelly roll. Thanks for the push and inspiration, Jacey! See her baby quilt and second jelly roll log cabin quilt here.
I am all about big quilts, so I knew I wanted to make my quilt a healthy throw size. It ended up around 64" square. I started with a 2.5" square for the center, in order to end up with a square quilt. I split the jelly roll and my stash of Carolyn Friedlander fabrics into lights and darks. I brought my fabrics along on a little retreat and pieced the entire quilt top while I was there. To keep things from getting too scrappy, I pieced together strips in order to continue building past 44".
I knew I wanted to quilt this one myself, since it needed a little tugging and smoothing during basting to make sure it was straight and square. All those long strips are hard to keep aligned!
I quilted it with straight lines, starting with two diagonal lines across the middle of the quilt. Then I echoed the X in each section.
A nice tumble in the washer and dryer and it crinkled up nicely.
I used this Ladder Lines print in Slate from Doe for the backing and the binding. After auditioning binding, I realized this print would be perfect to finish the quilt off. It wasn't too light or too dark, but a nice middle ground. This is the first time I've used the same fabric for the back and binding, I like it!
This quilt was a true exercise in working outside of my comfort zone. I had a plan, but I had no idea how much fabric I'd need, and I made each color/fabric decision in the moment. I'm still a little surprised by how square it ended up, there was definitely a moment in the piecing where it felt like it was going to be a bit lopsided. I had a lot of fun working on this quilt, and it helped me use up enough of my jelly roll that I can add the rest of the strips to my scraps, yay!
Happy Quilting!
Thursday, April 20, 2017
Sew Portable Travel Set: Sewing with Singer
Earlier this year, I was approached by Robert Kaufman to stitch up my Sew Portable Travel Set in the new prints coming to their Sewing with Singer fabric collection in June 2017. I mean how perfect? I travel set for a Singer Featherweight, made from fabric that has Featherweights on it! I had to photograph the set with my white Featherweight of course.
The set features a sturdy tote bag with a hard bottom to carry the machine in. There is room on both the front and back of the machine to carry projects, which also helps protect the machine. The exterior is quilted, with a layer of canvas to add extra structure.
Heavyweight handles are made from cotton webbing and a layer of quilting cotton on top. They're sturdy and wide enough so that they don't dig into your shoulder.
The second piece in the set is a drawstring bag. This is the everything size, which is also in the Lined Drawstring Bag Pattern. It holds the foot pedal, keeping it from scratching up the machine bed.
The last piece in the pattern is the extension table cover. It still helps to protect the table from getting scratched by the machine head! It's quilted and has the same layers as the tote.
The Sew Portable Travel Set Pattern is available in my online shop, here.
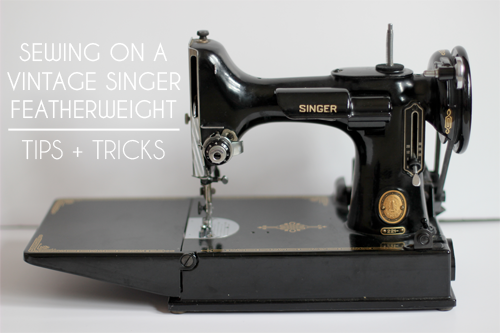
Interested in sewing more with your Featherweight? Check out my Vintage Singer Featherweight Tips and Tricks.
Bonus: Make a matching mat to sit under your machine: Sew Portable Mat Tutorial.
Happy Sewing!
Tuesday, April 18, 2017
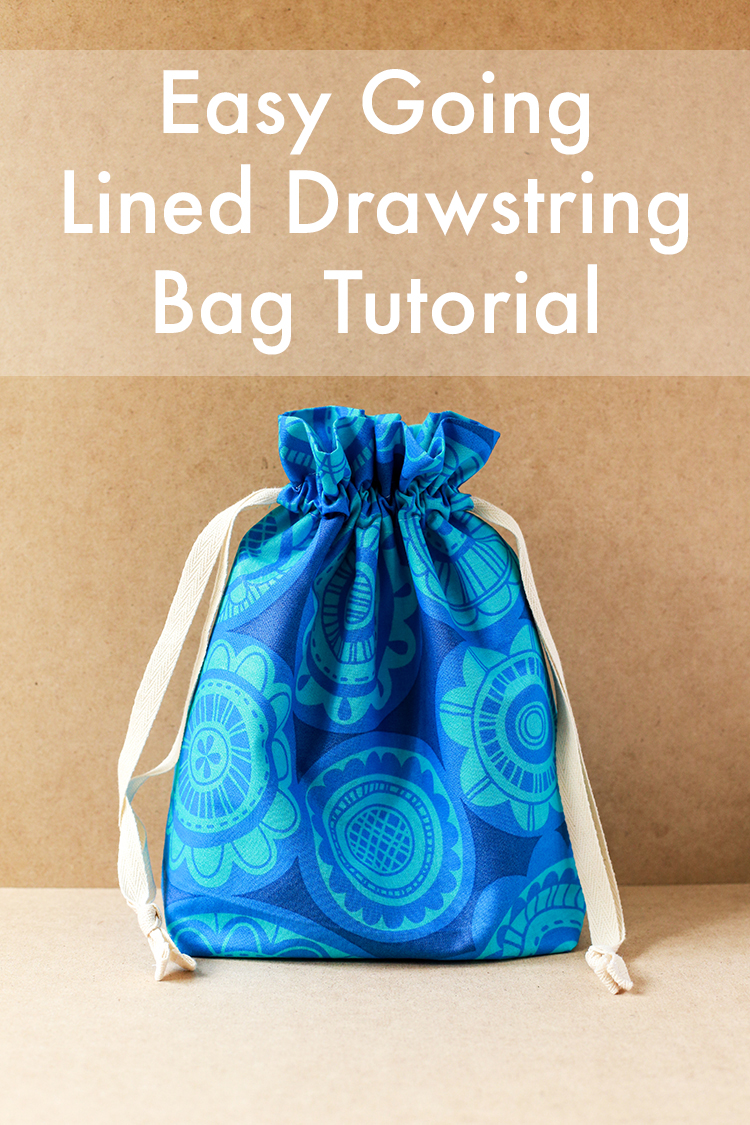
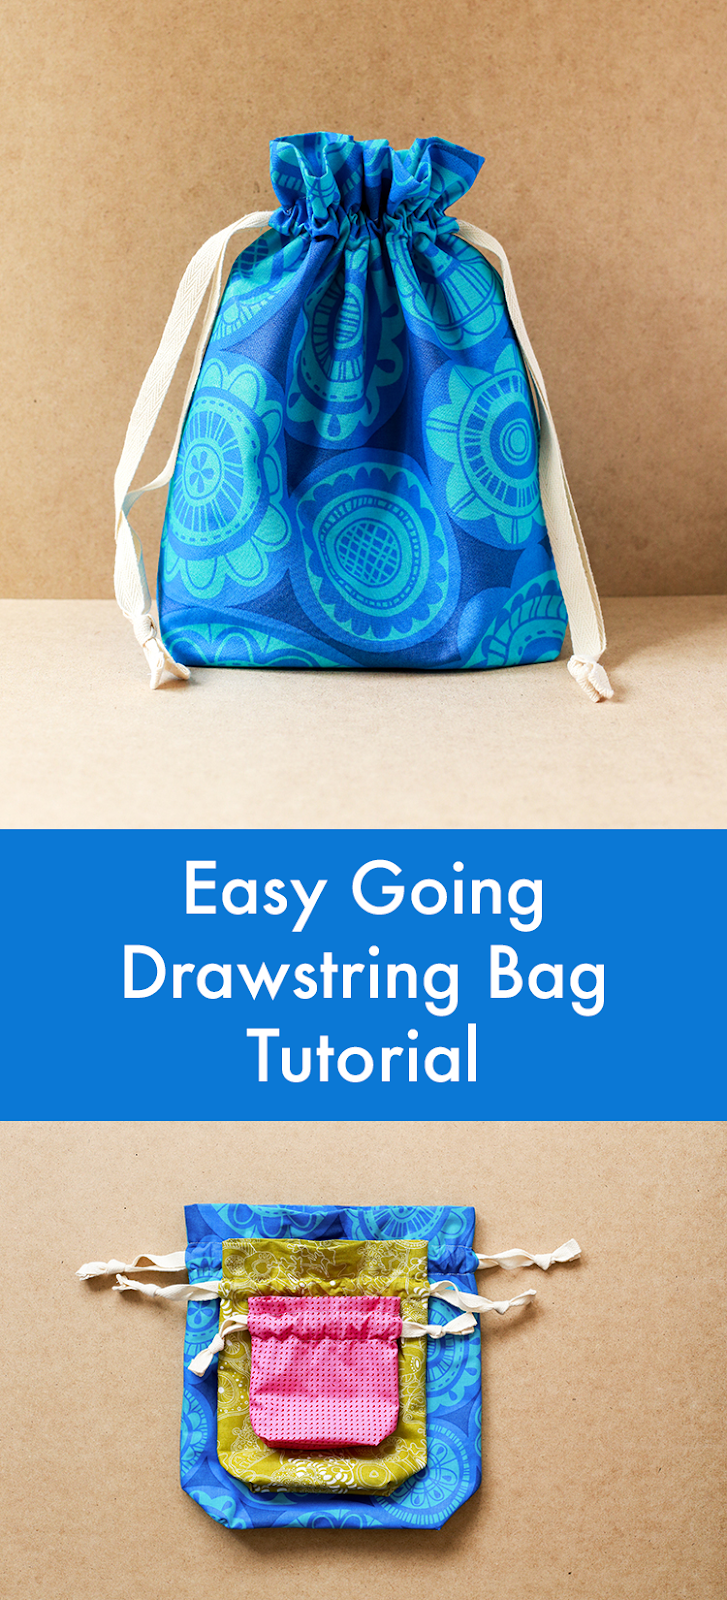
Easy Going Lined Drawstring Bag Tutorial
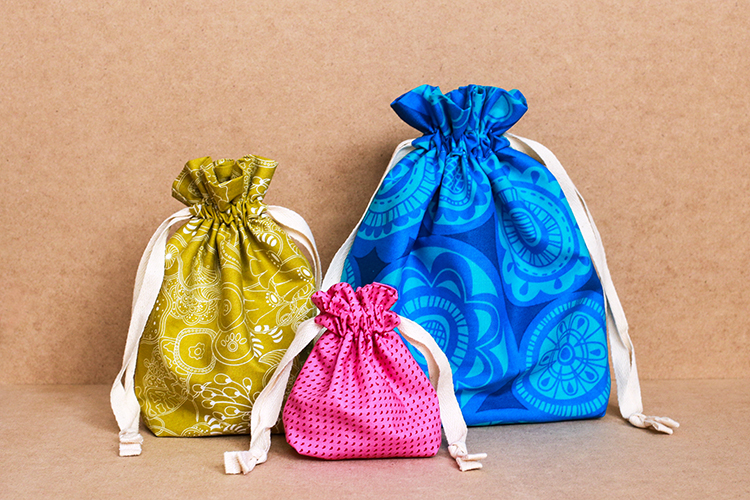
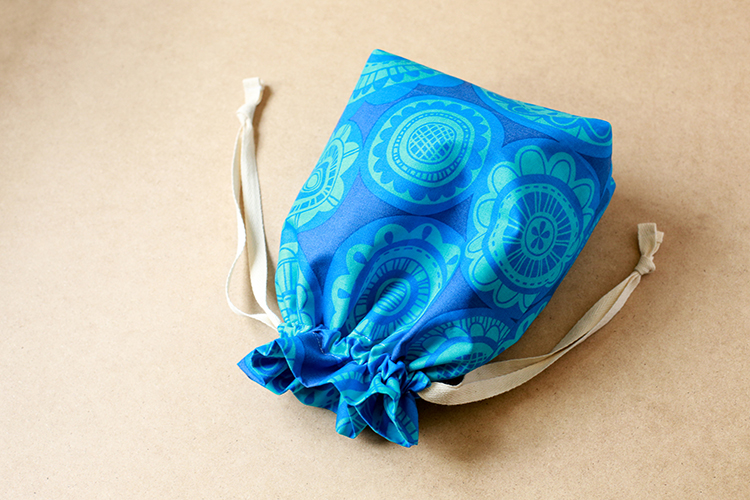
Over the years, I've had a number of readers ask for a simplified version of my Lined Drawstring Bags. It hit me recently that I should turn it into a variation tutorial. This version of the bag uses a single fabric for the interior and exterior, and removes the accent on the exterior. These come together even faster because there's less cutting and less sewing!
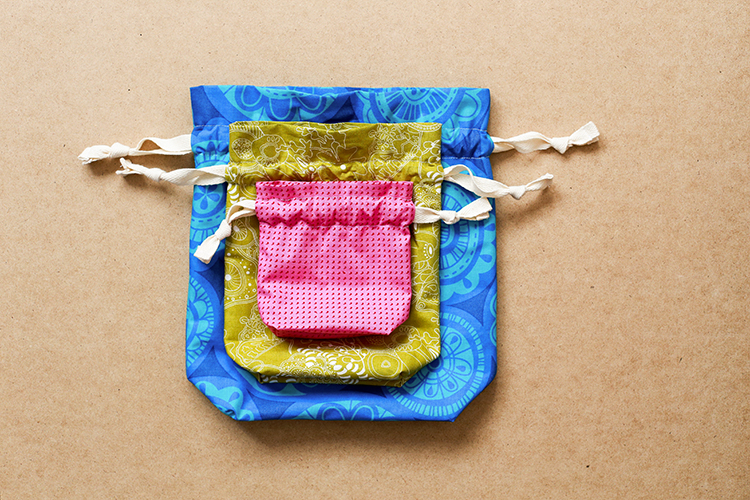
In the tutorial below you'll find cutting and measurements for the Everything Size bag from the Lined Drawstring Bag Pattern, which is the same as the tutorial size. I'd recommend avoiding directional fabrics for these bags. These bags use a single fabric for both the exterior and lining, so a directional fabric would be upside down on the inside!
Note: If you'd like to make a bag with a single exterior fabric, but still have a different fabric for the lining, never fear. Simply cut four pieces the same size as the lining (two from exterior fabric, two from lining). Then use the method outlined in this tutorial to measure for the drawstring openings.
Sewing Level: Beginner
Finished size: Approx. 10" tall, 7" wide, 3" deep
Materials:
- 5/8 yard of fabric
- 2 yards of cotton twill tape or 1/8 yd fabric for ties
Looking for supplies? Check out my Pattern Supplies and Resources post.
Cutting:
From fabric:
- Cut (2) 24.5"x10.5" pieces*
If using twill for ties:
- Cut (2) 32" pieces
If using fabric for ties:
- Cut (2) 32"x2" strips
*If you'd rather cut one long piece, cut a strip 48.5"x10.5". This would be a good use for those long strips of extra backing when making a quilt!
Instructions:
*Use a 1/4" seam allowance unless otherwise noted*
1. Place fabric pieces right sides together. Sew together along one short end, to create one long strip, backstitching when you start and finish. Don't press seam.
2. Leave pieces right sides together. Place a pin on each long edge, 14" from the open edge. Make a mark a 1/2" on either side of both pins. These two 1" sections will be left unsewn, creating an opening for the drawstrings. Pin around the sides and open edge, leaving a 3" opening at the center of the open end, for turning later.
3. Sew around the three open sides, backstitching when you start and finish. Don’t sew between the 1" opening you marked on both sides or the the 3" opening on the end. Be sure to backstitch before and after each opening.
Follow steps 6 - 20 of the tutorial or pattern to complete your bag.
Instructions for Making Other Size Bags:
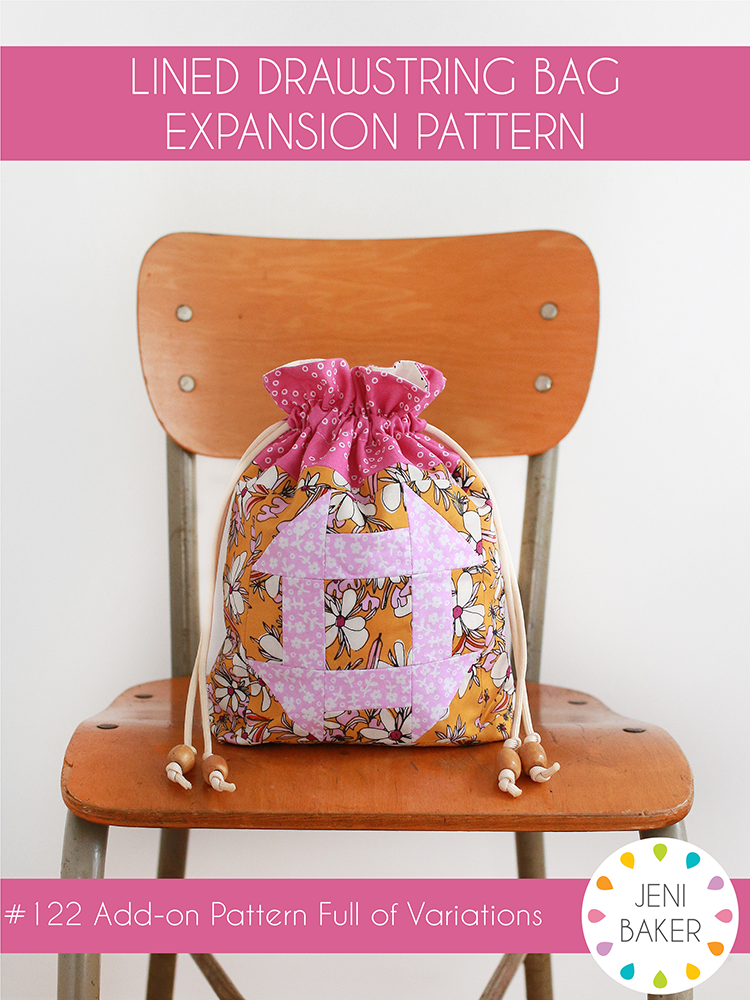
If you're interested in making Easy Going versions of the other sizes from the original pattern, you can find cutting measurements and instructions in the Lined Drawstring Bag Expansion Pattern. It includes instructions for making many different variations including two different Easy Going styles: single fabric and two fabric.
Find the original pattern here: Lined Drawstring Bag Pattern
Find the expansion pattern here: Lined Drawstring Bag Expansion Pattern
I hope you've enjoyed this tutorial! I have lots of other tutorials for everything from quilts, pillows, bags, and holiday items to informational series and techniques. Find all my tutorials here: Tutorials. My online shop is filled with patterns for quilts and bags. Find my patterns here: Jeni Baker Patterns
If you make something using one of my tutorials or patterns, I hope you'll tag me @jenib320 and use my hashtag #jenibaker on instagram!
Happy Sewing!
Thursday, April 13, 2017
Liberty Dumpling Pincushions
As soon as I saw these pincushions popping up on instagram, I knew I had to stitch some up. I chatted a bit about my love of pincushions a few weeks ago, so I didn't need much of an excuse to make more. These are so little and cute, how could I resist? They're only 2"x2"x1", so tiny! I took the opportunity to take a few silly photos too, after tracking down some empty take-out boxes.
Dumpling Pincushion Pattern by Julia Williams of Alchemy Tea.
I knew I wanted to make my pincushions out of scraps, and thought a few from Liberty of London Tana Lawn would be extra special. Instead of using multiple prints for each I kept them extra simple. I would like to make a few more that are scrappier.
These whipped up so quickly. Julia includes lots of little tips and tricks to make these an easy sew.
For the tops, I made my own covered buttons, using the Dritz 5/8" Size 24 button kit. Many years ago, I made lots of covered buttons and turned them into hair-ties and pins that I sold on Etsy. It was fun to pull out those supplies and make a few!
These are stuffed with crushed walnut shells, which is my favorite pincushion filling. My pincushions tend to double as pattern weights, and these are the perfect size.
Happy Sewing!
Tuesday, April 11, 2017
Baa-ble Mittens and Earl Grey Hat
I thought I better share a few knitting finishes before it gets too warm, especially since these photos were taken in the snow! These projects were finished at the end of December and early January.
First up, my Baa-ble Mittens! This was my road trip project for our holiday travels. We spend a lot of time in the car when we go home to Ohio and Maryland. It's nice to have a project I save just for the car to help make it a little more enjoyable. In 2015, my holiday road trip project was a Baa-ble Hat (see it here). In late 2016, Donna Smith released a pattern for a matching cowl and mittens to match her popular Baa-ble Hat pattern. Of course I had to make the mittens!
These were so fun to knit. I love colorwork, and it's perfect for the road. Nice and interesting, and it keeps my mind occupied. Since they're knit in worsted weight, they knit up really fast. I used the same yarns as my hat, and I love that now I have a matching set.
Next up is my Earl Grey Hat. I used this pattern for my Mom's Christmas hat, and decided I wanted one too. I had a lonely skein of Aran weight yarn that I needed to use up, so it was a win-win. This was my second cabled project, and it was fun!
Happy Knitting!