Favorites
Friday, June 27, 2014
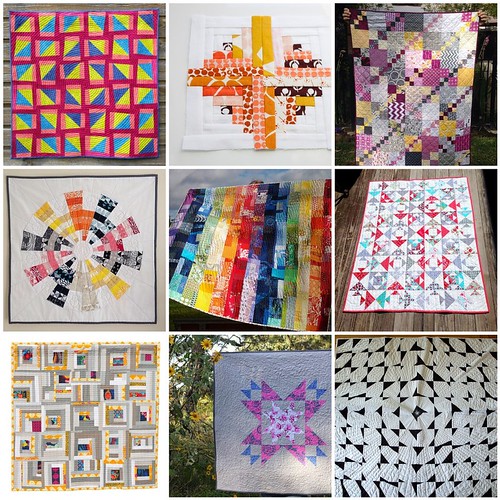
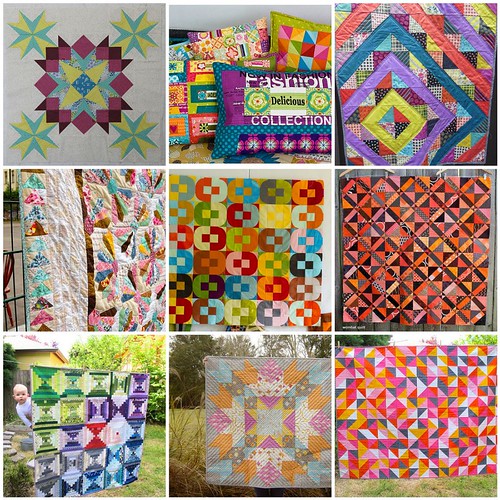
1. Drop Dead Gorgeous medallion in progress, 2. Giant Mix Tape Pillow, 3. Baby quilt - half square triangle with Denyse Schmidt Chicopee, 4. Fancy Fan Quilt, 5. Mod Ovals Top, 6. finsihed Choc orange quilt top, 7. do. good stitches love circle january quilt: courthouse steps in cool colors (+ red), 8. Cosmic Burst Quilted 1, 9. ingrid's quilt
Every week I go through my favorite photos on Flickr, and choose nine sewing/quilting related projects to showcase here. These photos and projects are not my own, you can find the original images and creators by clicking the coordinating links! If for any reason you do not want your project featured here, please email me and I'll remove it!
Happy Weekend!
Thursday, June 26, 2014
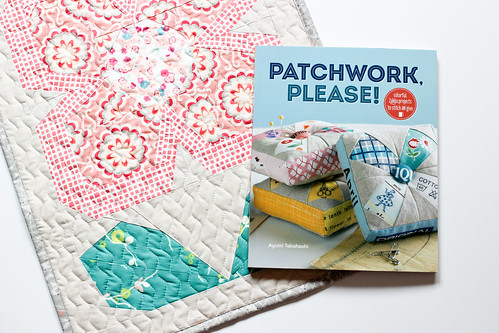
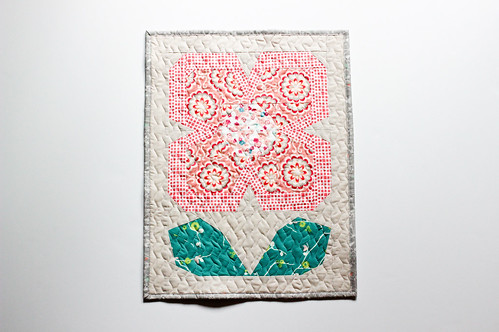
Happy Thursday! Another week, another mini quilt! We're down to the last two! Today's mini quilt was made for my friend Deedrie!
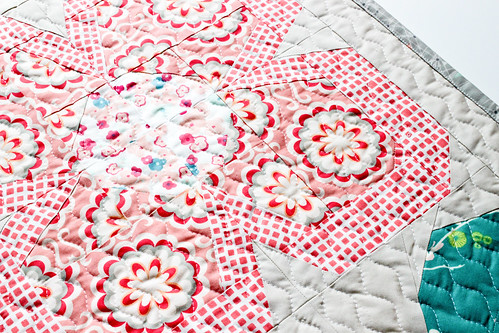
The Swedish Blooms Quilt in Ayumi's book, Patchwork, Please! is one of my favorite patterns to pop up in the last year or so. It is sweet, and has such a Scandinavian modern feel to me. I had been dreaming of stitching one up in Nordika, but I never found the time. So, when it came time to make Deedrie's mini quilt, I decided to finally try one of these blocks! It had been a little while since I had done any paper piecing, so it was lots of fun to play with that again!
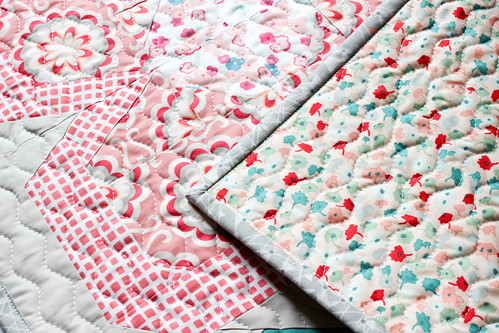
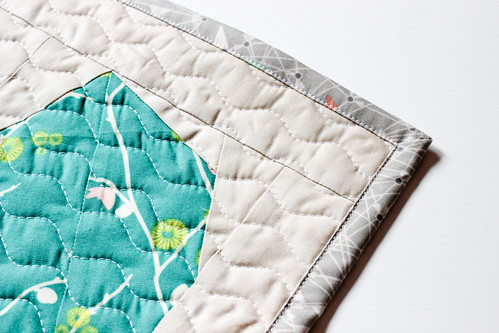
I choose soft corals, pink, neutrals and a pop of teal for this quilt. It was a nice departure from bold and bright, and I think it compliments the block well. I used the serpentine stitch for quilting, and used Aurifil 50wt thread to match.
All the fabrics used are from Art Gallery Fabrics. I used a print from Rapture by Pat Bravo for the backing. The background is Sandstone Pure Element.
For the binding I went with a fun print from Chromatics by AGF In-House. I love using linear prints for binding! As always, I attached my binding by machine. You can find a tutorial for the method I use here. It's easy and quick!
Happy Sewing!
Tuesday, June 24, 2014
Happy Tuesday! I'm trying really hard to be a good blogger this summer. I'm really just trying to create better habits about all kinds of things. Finding a routine makes me happy, so I've upped the planning side of things over here. I actually mapped out a whole month of blog posts, and I'm doing my best to stick to it! Hopefully I can keep it up. Hold me to it if I don't!
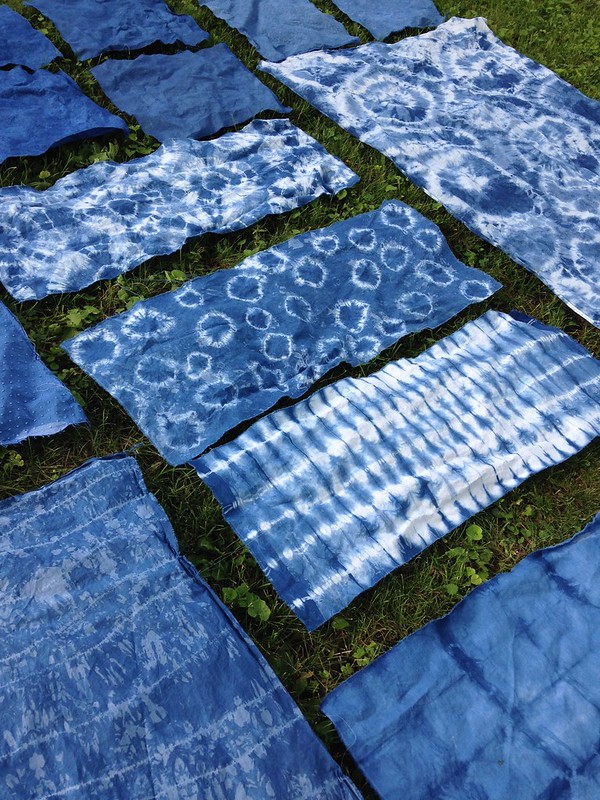
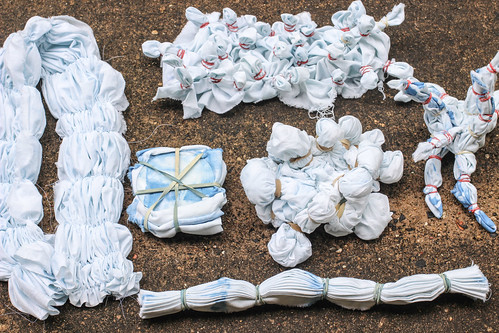
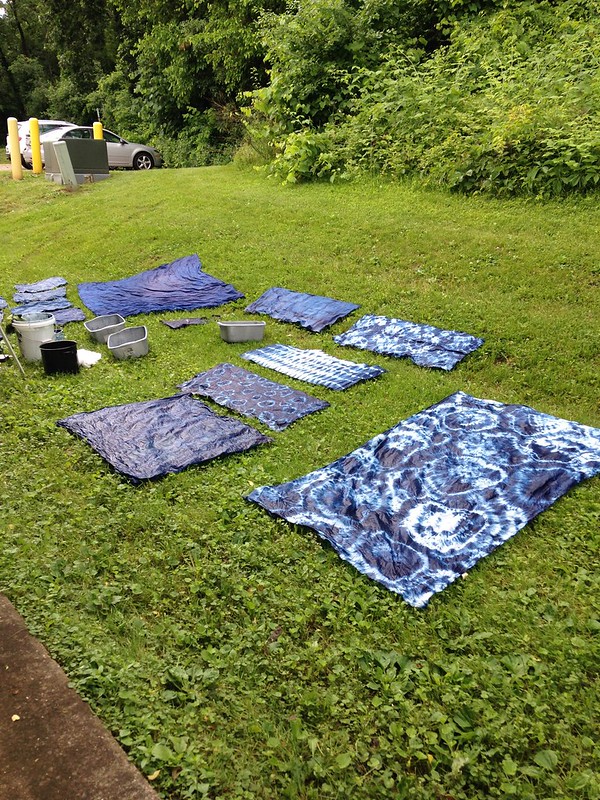
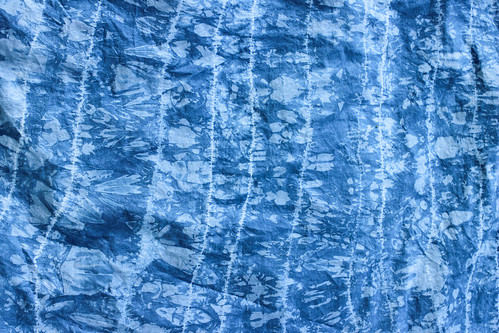
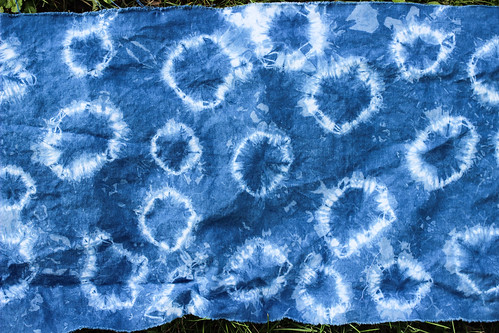
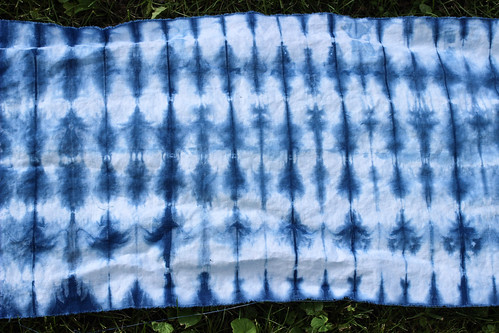
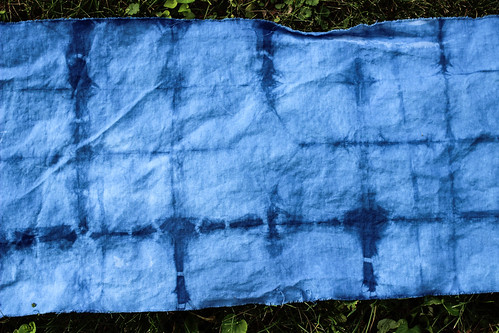
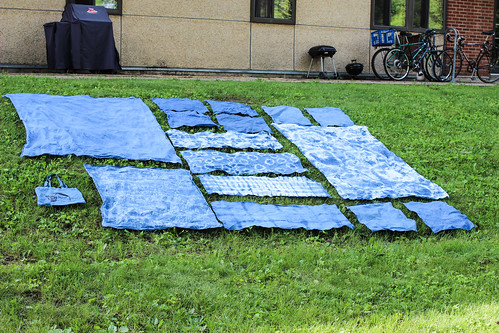
Today I want to share a recent indigo dyeing session! A group of us had our annual cabin sewing weekend this month, and we tried to do another indigio dye vat. Something went wrong and the dye didn't take very well. So of course I immediately ordered a new kit and re-dyed everything last week! It went much smoother this time!
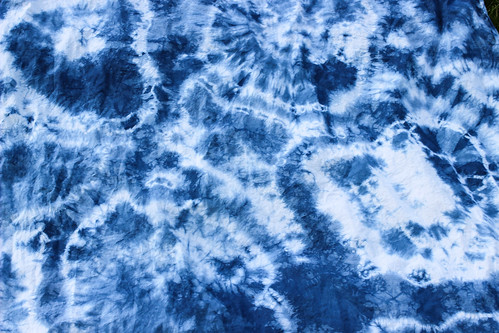
Having already experimented with indigo dyeing last summer, I knew a little better about what works, and what I like. So for the resists this time, I focused more on "tie-dye" looking effects, with more of the fabric exposed. I dyed more cotton/linen blend and also some cotton lawn.
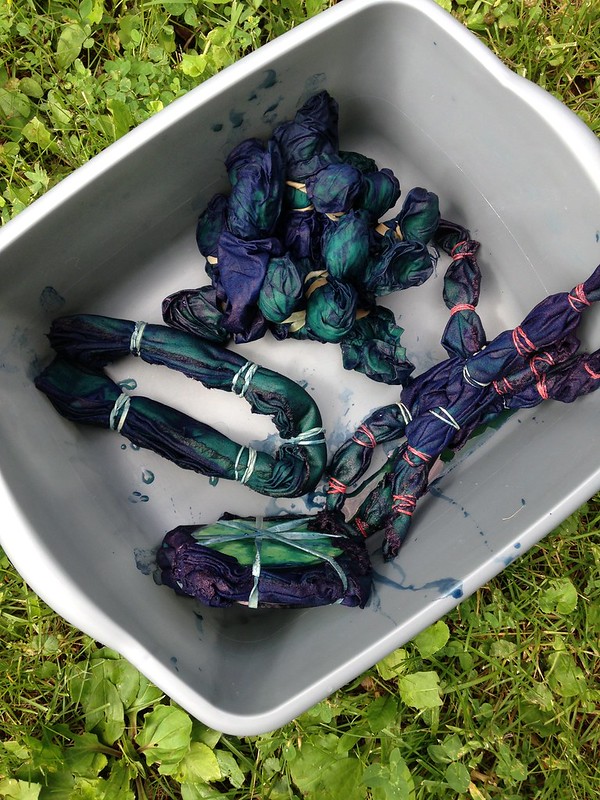
Indigo dyeing is sort of magical. When the pieces come out of the dye bath they are neon green! As they get exposed to oxygen they slowly turn deep blue. It's so fun to watch them change!
I dyed in the back yard behind our apartment. It wasn't ideal, but it worked! I'm sure my neighbors thought I was crazy!
These two pieces are the lawn, I plan to use them for clothes!
The rest of the pieces will go into a big picnic quilt along with the pieces I dyed last year!
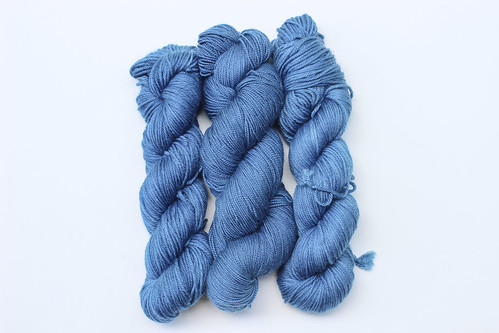
This time I also tried dyeing some yarn! I dyed two skeins of worsted and a skein of sock yarn. I'm hoping to tie the picnic quilt with the sock yarn!
I bought my un-dyed yarn from Wool2dye4.com.
I dyed a few other things including a tote bag, some cotton dobby fabric and some white on white prints. It was so much fun! I'm hoping to do another batch later this summer, I want to dye a giant piece for the picnic quilt backing!
Monday, June 23, 2014
Happy Monday! I'm finally getting around to bind and finish a few quilts that have been sitting around! I sent off some lingering works-in-progress to Melissa of Sew Shabby Quilting this past Spring knowing I would never get to them myself. It was an amazing feeling to have ZERO quilt tops waiting to be quilted. Of course it didn't last long, but for a brief moment it was the truth, and it was awesome! I'm hoping to keep them from piling up again!
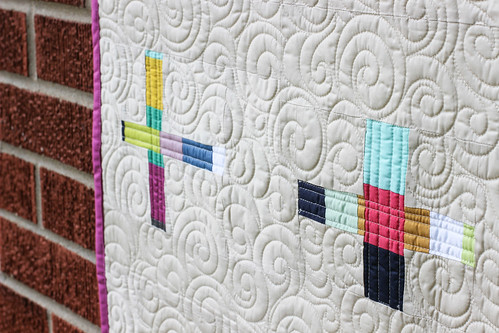
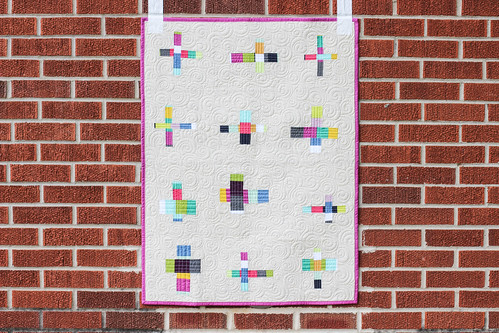
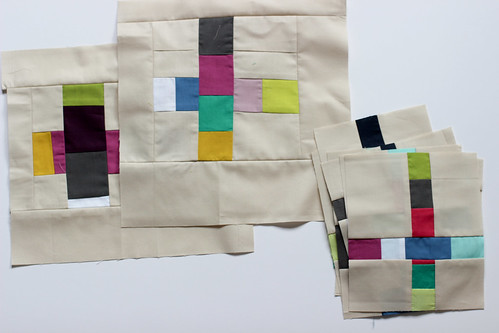
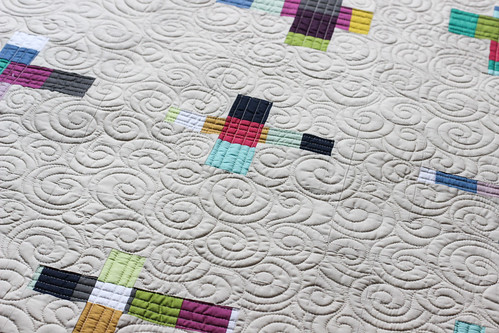
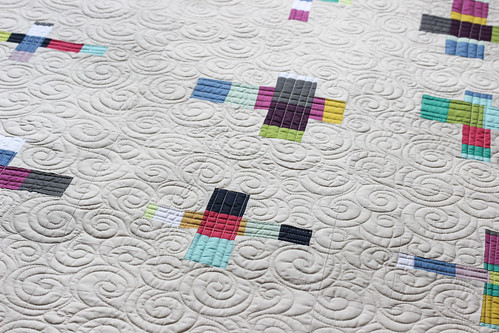
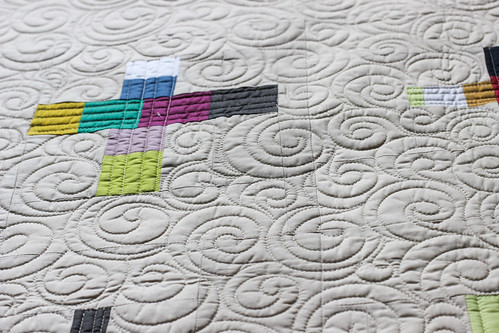
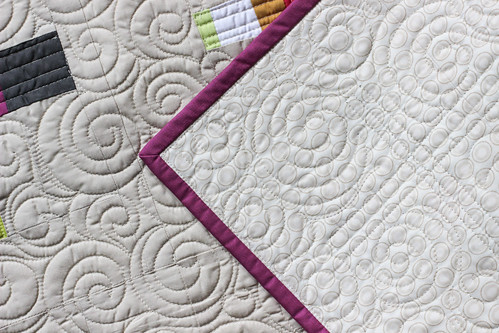
I've decided to call this quilt Sticks and Stones. The first name that came to mind was "Wonky Scrappy Pluses", but I'm trying to be a little more creative in the naming department! The strips remind me of some painted sticks I've seen on Pinterest. The quilting sort of mimics stones a bit, so there we go. That's the story!
I started these blocks at the very first Camp Stitchalot in December 2012! I can't believe it has been that long ago. I made these during an Improv Piecing class taught by Heather Jones. I decided to stretch myself and use only solids for these blocks. All the solids are Pure Elements by Art Gallery Fabrics. The background is Sandstone!
I pieced blocks until I got tired of making them, and had enough to make a small wall hanging. I sashed the blocks all differently, then cut them down to the same size. It's still a pretty obvious grid layout, but it does have a little character to it! (I hope!)
Confession time: I am afraid of quilting with solids. I love prints, so working with just solids was weird! There is no place to hide my quilting mistakes! I had literally no idea how to quilt this, and was not keen on filling in all that negative space. Enter Melissa! I had her do custom quilting, whatever struck her fancy. I love what she did with it! The contrast between the strips and the background is so cool!
I'm excited to find a place in our apartment to hang this one up. It's been a long time coming, it feels good to finish it!
I bound the quilt in one of my favorite Pure Elements, Verve Violet. It's pretty excellent if you ask me!
Happy Quilting!
Friday, June 20, 2014
1. "Raise The Barn Roof High" Quilt, 2. log cabin mini quilt, 3. Baby quilt for Baby Blue E., 4. EZdresen mini quilt, 5. Sophia's Rainbow Quilt, 6. Quilt pattern is "Kissing Fish" by Lee at Freshly Pieced! This was my first baby quilt!, 7. Think & Wonder - AMH Edition, 8. Untitled, 9. TheFlyingFarfalle
Every week I go through my favorite photos on Flickr, and choose nine sewing/quilting related projects to showcase here. These photos and projects are not my own, you can find the original images and creators by clicking the coordinating links! If for any reason you do not want your project featured here, please email me and I'll remove it!
Happy Weekend!
Thursday, June 19, 2014
Happy Thursday! It's time for another mini quilt! As I mentioned earlier this month, I've been busy making a few birthday mini quilts this Spring and I'm going to share one each week. This week's mini is for Holly!
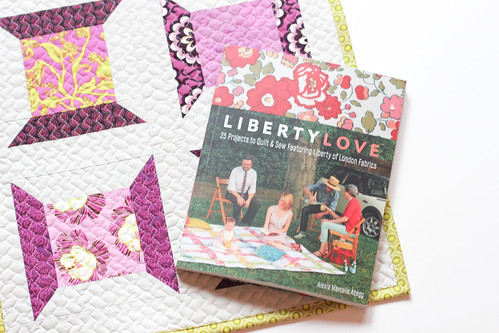
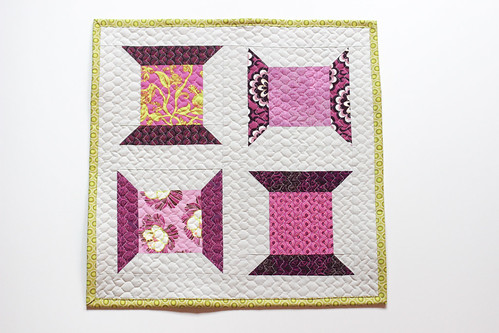
Holly is one of the few people I know that loves purple as much as I do. After a weekend get together a few months back, we discovered how much we are truly alike. Isn't that the best? Anyways, I knew I had to use purple in this mini quilt, and I knew Holly had a liking for Alexia Abegg's Liberty Love book! I went with the Classic Spools Quilt. It was really fun to stitch up!
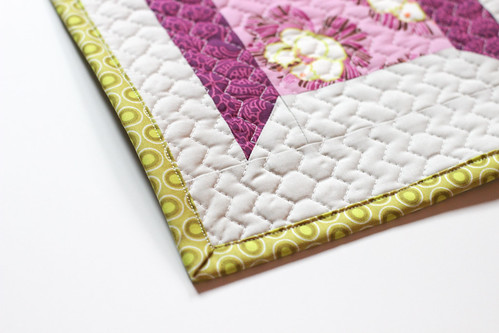
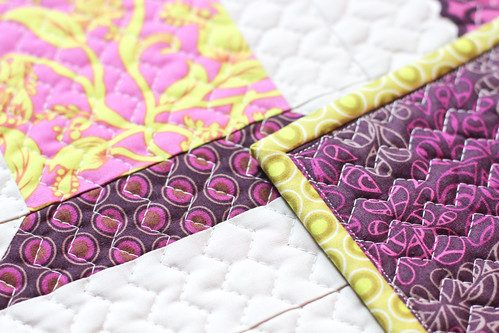
I made just four spools and turned two on their sides to give the little quilt a bit of extra interest. I focused on eggplant and orchid purples with a little pop of lime green to mix it up! I quilted it with 50wt Aurifil thread and the three-step zig-zag stitch.
I used Pure Element sandstone for the background, along with blenders for the backing and binding. All of the fabrics used are from Art Gallery Fabrics.
I want to make one of these ones for my craft room. Either that or an entire quilt! :)
Wednesday, June 18, 2014
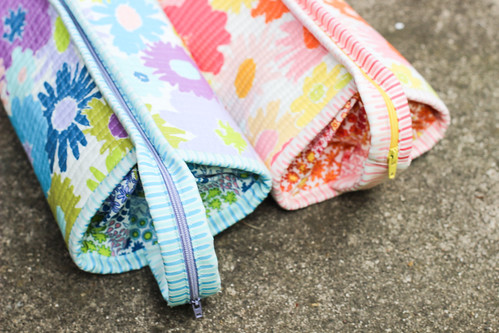
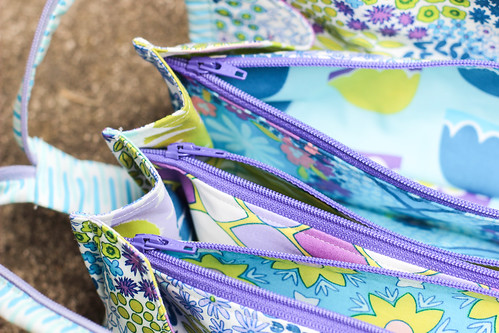
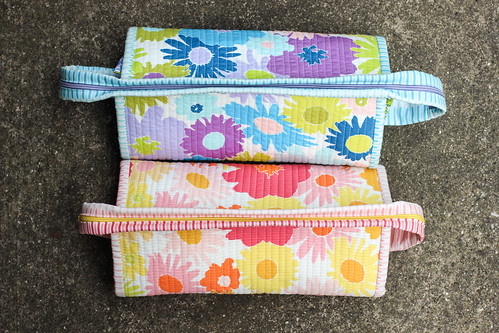
Happy Wednesday! Decompressing after a big event like Quilt Market can be tricky for me. I've just spent a large amount of time sewing like a crazy person all day every day, and then there is the event itself. I come back home and usually feel like I don't want to look at my machine for weeks. This time however, was different! I immediately got a new machine and I think that helped get me back to the machine a lot faster. The first project I tackled was the Sew Together Bag. I purchased the pattern a few months ago, but didn't have time to make it until now.
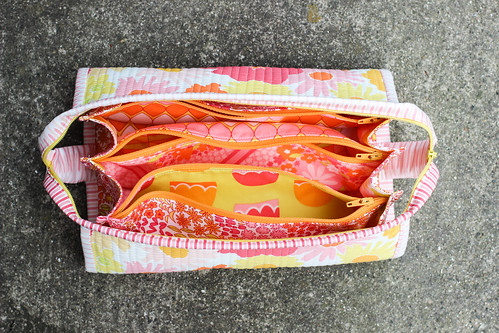
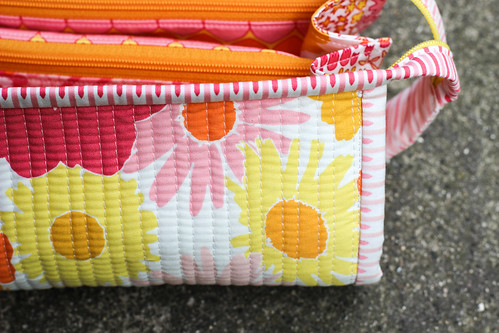
Of course once I made one, I had to make another! The pink one now lives with my Mom, so I'll probably have to make another soon! ;)
Sew Together Bag pattern by Sew Demented can be found here.
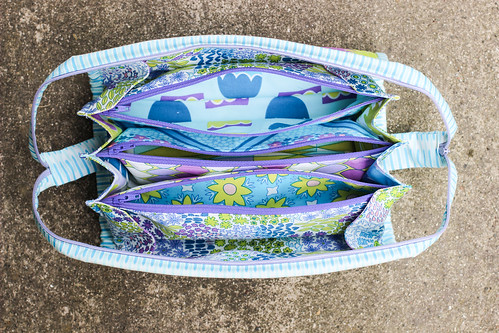
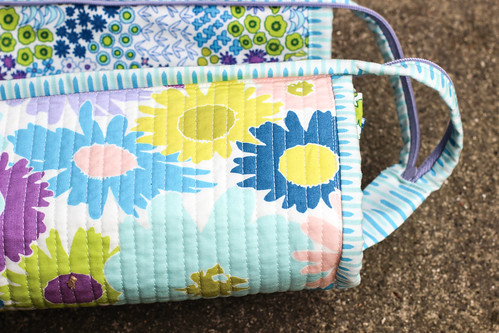
The first bag I made, I used the Merry Berry colorway of Dreamin' Vintage. I paired it with straight line quilting using 50wt Aurifil thread, and purple zippers. I used an extra long zipper for this bag, which I will do from now on. I didn't realize how big it was until I made the second one, using the recommended zipper size.
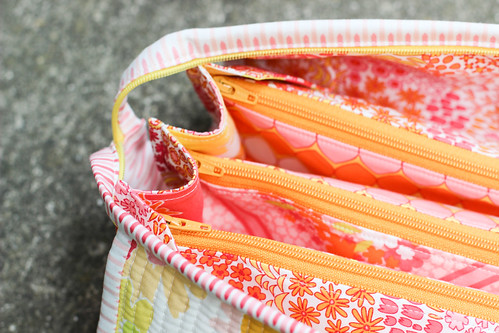
For the second bag I used the Tickled Pink colorway from Dreamin' Vintage. I love how these prints all worked together in this bag! It's so cheerful, and I hope my Mom is able to get lots of use from it! I used 50wt Aurifil thread to quilt this one too.
I absolutely loved making these bags. They were fun, a good test of my new machine, and they turn out adorable! I cannot wait to make more of them. I am able to take all of my tools and notions that I need when traveling, which is great. I feel so organized!
You can find the pattern here: Sew Together Bag Pattern by Sew Demented
Tuesday, June 17, 2014
Happy Tuesday! I finally have photos of my sewing room in it's new state! This past winter we seriously considered finding a new place. After having no luck and getting frustrated, we decided to stay in our current apartment and make the best of it. Part of this meant making the space work better for our needs. Michael built a desktop computer so that he could write from home, and it was not ideal to have it live on our kitchen island! The sewing room was the obvious place to squeeze in a desk for him.
See photos of my sewing space before, here.
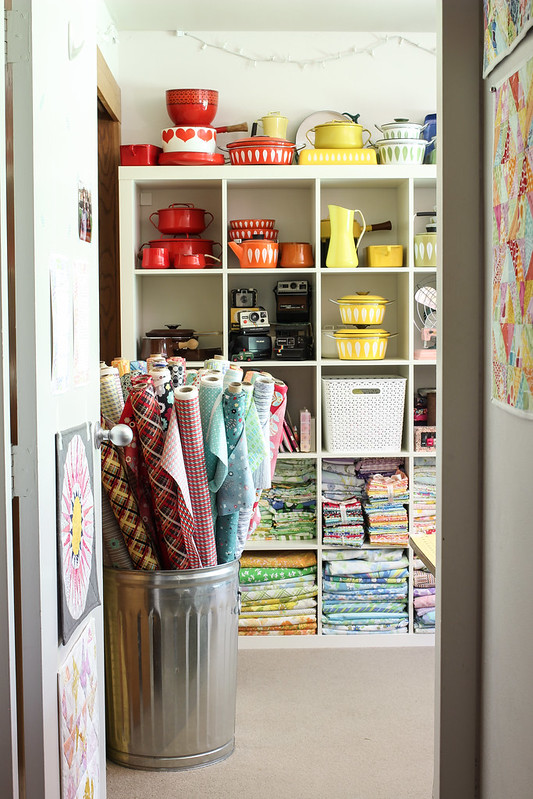
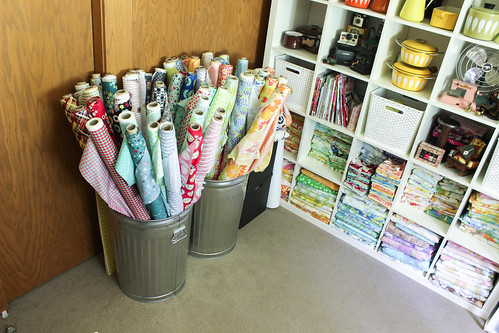
Once we commited to spending the rest of our time in Madison living in this apartment, we agreed to invest in some furniture that would allow us to take better advantage of the space. This meant my dream came true of owning an Ikea Expedit unit! I went with the largest unit because, well why not! It houses most of my vintage enamelware collection, vintage sheet stash, and various other collections and supplies.
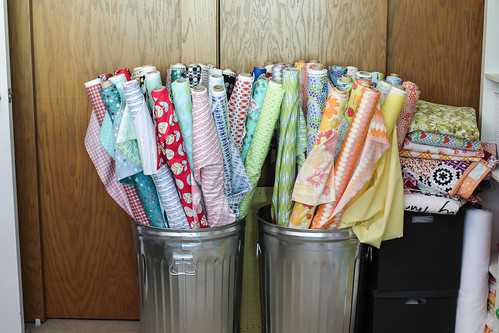
I also happen to have 50 rolls of fabric to store (woe is me!), and these cheap galvanized trash cans from Farm & Fleet have been a great solution. As you can see, I am still adjusting to this space, there are still a few piles here and there!
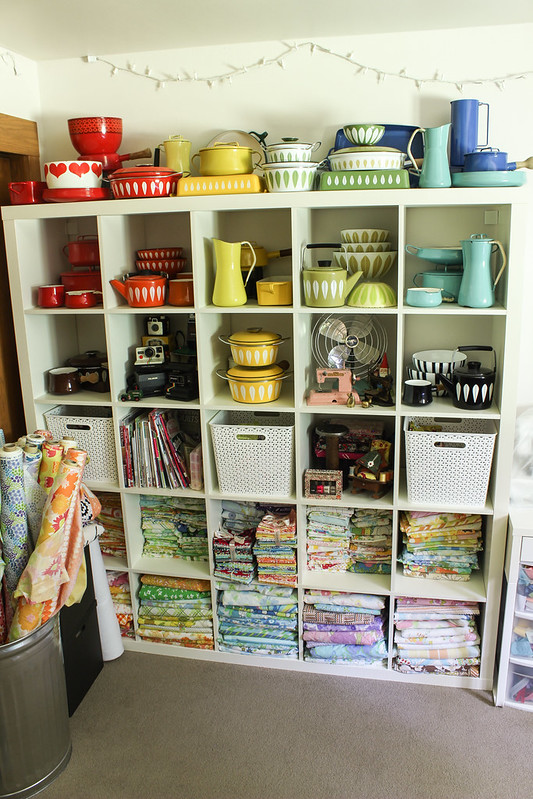
The Expedit unit in all it's glory!
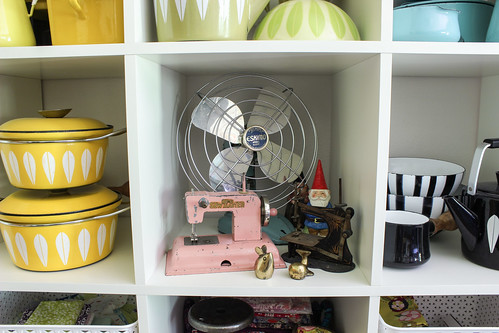
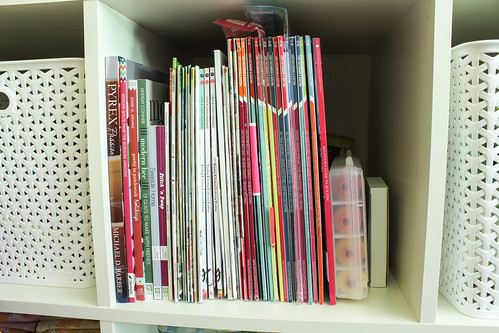
I love being able to display all of my little knick-knacks and collections!
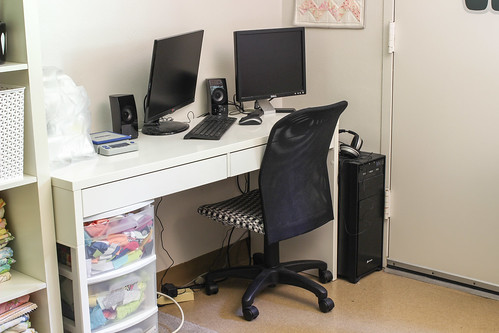
Michael's corner is pretty subdued compared to the rest of the room, but it gets the job done! We went with a Micke desk from Ikea. We are using nearly every inch of that wall, there is about a 1/4" of wiggle room! I'm still trying to figure out what to hang above the desk, I need another little shelf for more treasures! I love being able to have my serger out as well, makes it much more likely that I'll use it!
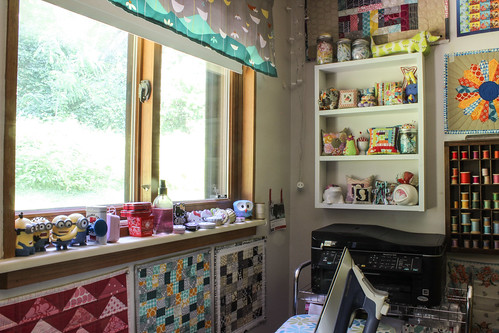
The lone window in the room looks out into the woods, which is a great ironing view. The white shelf holds my pincushion collection, which is getting a bit large! My Dad and I made the shelf together last summer. The window sill holds most of my Hello Kitty tin collection and Minions!
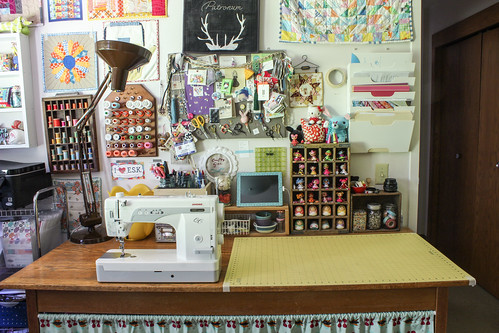
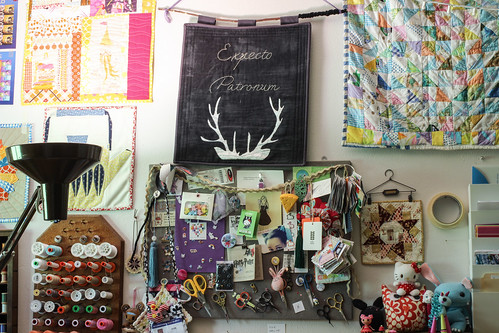
The view above my sewing table is pretty unchanged. I do change out my bulletin board every six months or so, and I picked up a hanging file organizer at Ikea as well. Helps keep things semi-organized. My Lalaloopsy dolls and Unazukin dolls live in the vintage coke bottle box!
I hope you enjoyed seeing a peek into my workspace! It's been adjustment sharing my room, but it's really nice to have some company when I'm working. We like to let George have a run around while we're back there too!
Wednesday, June 11, 2014
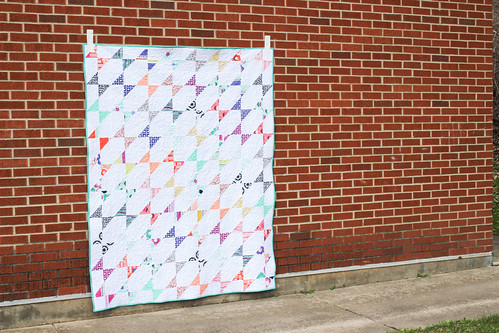
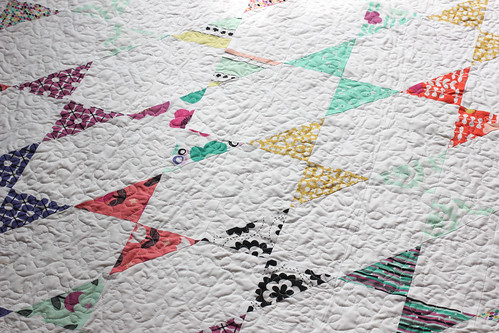
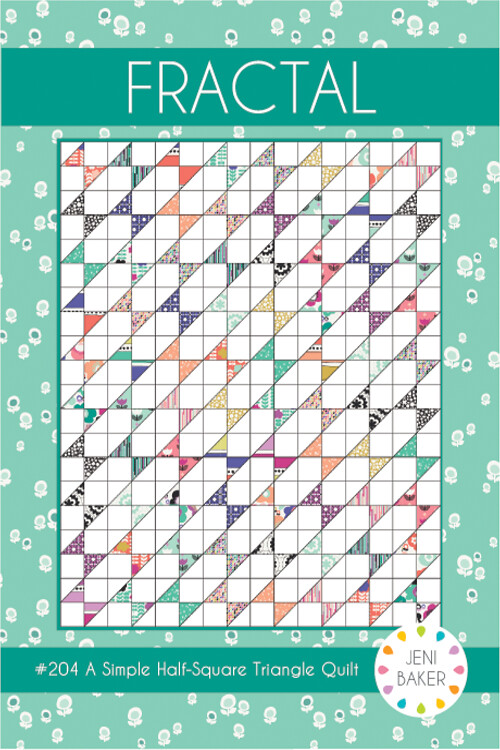
Happy Wednesday! Today I want to introduce you to my newest quilt pattern, Fractal. You saw a little peek of it in my Geometric Bliss Quilt Market post, but I wanted to take the time to chat about it a bit more. I'll be diving into the rest of the market projects next week!
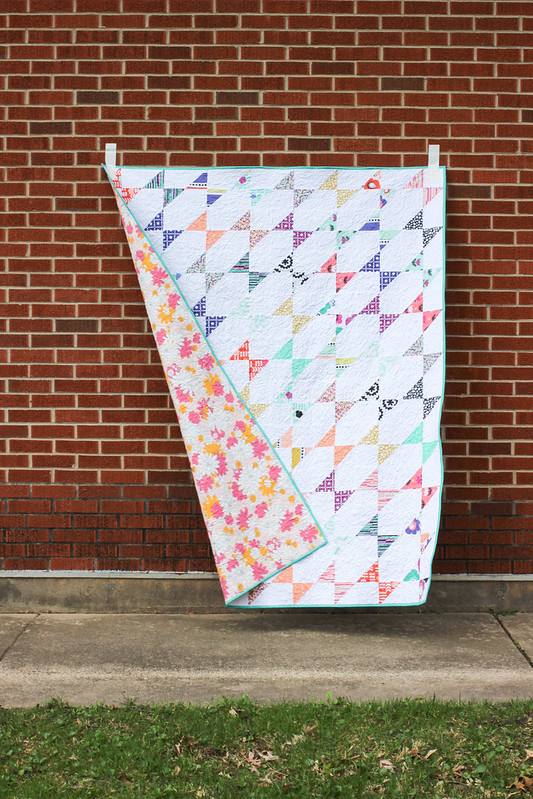
As I mentioned last week, the design for Fractal was derived from one of the prints in my Geometric Bliss collection, Tessellate. It's one of my favorite prints from the collection, and I had a lot of fun playing around with the design for quilting. It was one of those quilts that turned out exactly how I pictured in my head. That's always nice, right?
The construction is super simple, and it's an enjoyable sew. It uses 20 fat eighths (9"x22"), so it's a great way to show off fabrics you might not have much of! It would be perfect for scraps as well!
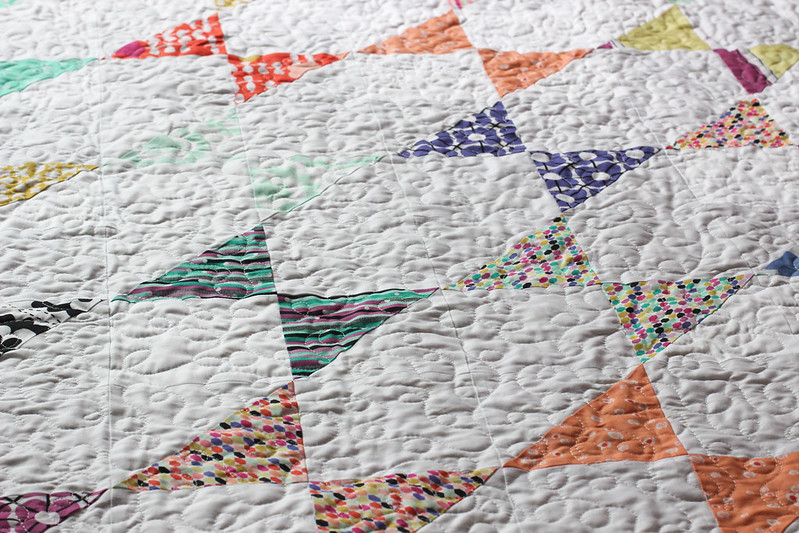
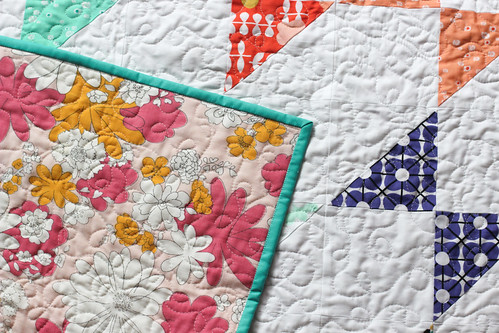
I used Pure Element in Snow for the background, to really make the prints pop. I actually used light gray thread to quilt it! I know that sounds strange with white, but it gives the quilting a little more dimension and it blends really nicely with all the prints. It's the light gray Aurifil 50wt thread from my Favorite Things thread collection.
I used one of my very favorite vintage sheets for the backing. I still have a few full sheets of this print, I always have at least one on hand! It's just so fun and cheerful! I bound the quilt in Pure Element Cozumel Blue.
Fractal is another postcard pattern, so it comes printed on a single 4"x6" postcard! It's quick, simple, and straightforward. It's available as a PDF as well, which is printable on a single sheet of regular printed paper. You can find both in my shop!
If you're a shop interested in carrying Geometric Bliss, it can be ordered through Art Gallery Fabrics. Find your sales rep here, or call toll-free (888) 420-5399.
Subscribe to:
Posts
(
Atom
)