Hands down, my favorite quick quilting technique is chain piecing. Chain piecing not only saves time, but it saves thread! It's a win-win!

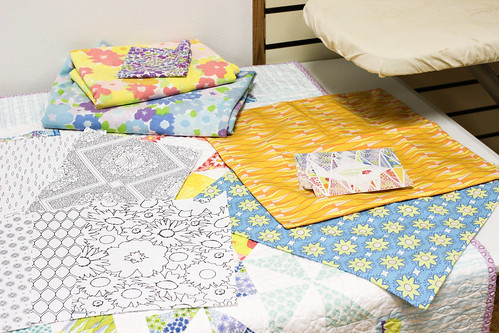
So, what is chain piecing? Let's talk about it through photos! I need to piece a patchwork panel made up of six rows of seven squares each. It would take me a long time to piece this if I was piecing square by square. With chain piecing, it's much easier. The only downside of chain piecing is it can sometimes be difficult to keep things organized and in order. I spent too much time laying this patchwork out, I want it to be in this particular order! So, I'm going to show you how I would piece this with the help of chain piecing!

1. Lay out the piece you'd like to chain piece. I recommend snapping a quick photo for future reference!


2. Label your rows. For large quilts, I use plastic row markers, but for something this small I use a small piece of masking tape (a great tip I picked up from
Rossie at
Camp Stitchalot!) Place each marker
on the first block in each row.

3. Stack up the pieces in each row, with the marked piece always on top.

4. Stack up all the rows into one pile, with row one on top.

Now it's time to start piecing! This is where you really need to
pay attention to what you're doing to make sure things stay in the right
order.
5. Pull the top square straight down in front of the pile. Place the next square to the right side of the first square.

6. Flip the right square onto the first square, right sides together.


7. Stitch along the right-hand side of the squares. When you reach the end, do not pull out of the machine.

8. Pull together another set of squares, the same way as the first set.
Place squares under the presser foot, with a small gap between the
first set.

9. Stitch along the second set of squares. Continue in
this way for the third set. My rows have an odd number of squares, so
there is a leftover square.

10. Pull the chain out of the machine and lay out with the first pair at the top. Trim thread in between pairs.


11. Open pairs and stack on top of each other, with the first set on top. Now start the process over again!

Continue in this manner until the entire row is pieced!

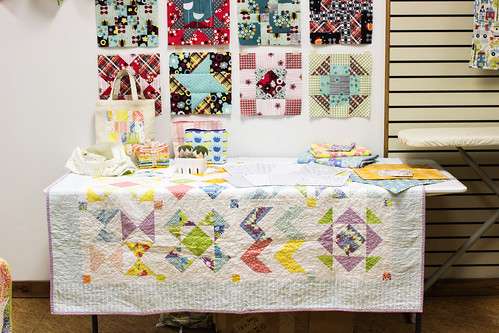
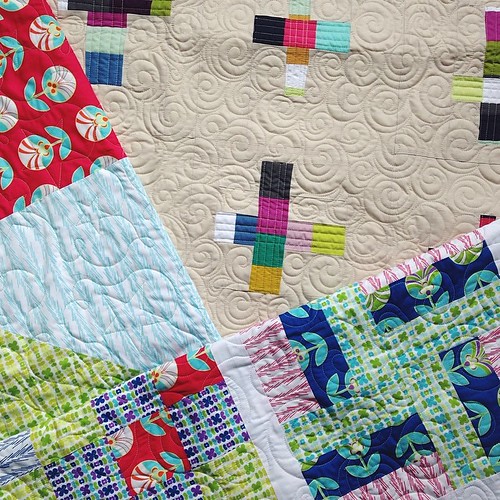
I pieced the rest of the panel by chain piecing all the rows. I pieced
everything into pairs, making a stack of the single squares, then made
my stack again. Coming up with a system for moving the pieces, cutting
apart, and stacking, it isn't too hard to keep everything in order!

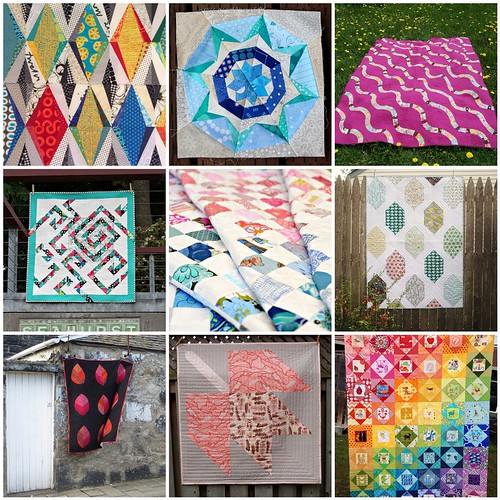
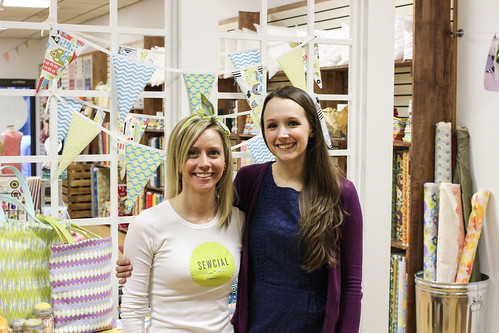
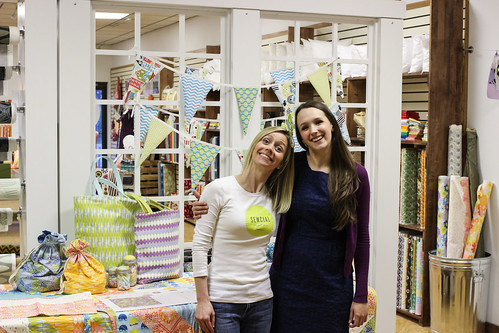
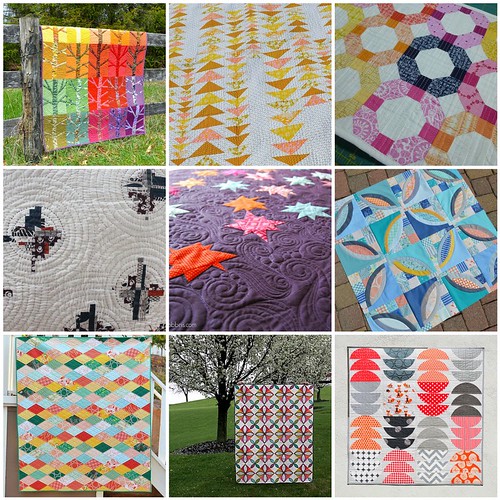
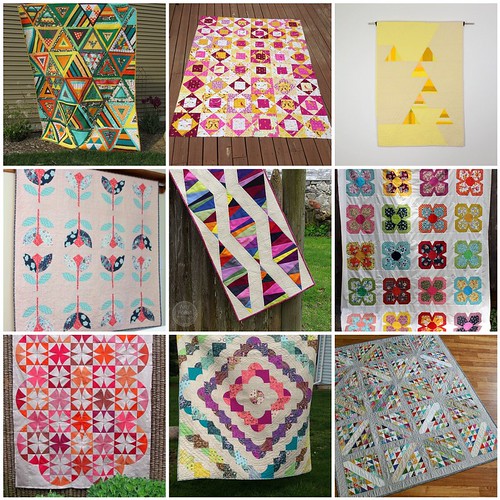
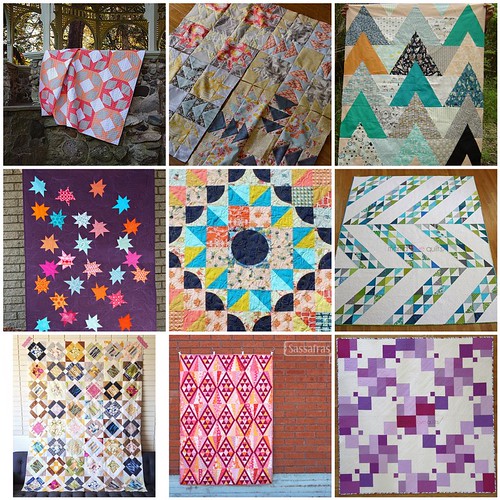
I'm happy to be a part of a fun blog tour! We're celebrating the release of
Amy Smart's new book,
Fabulously Fast Quilts, by sharing our favorite quick quilting tips!

First of all, Amy is one of my favorite people I've met through quilting in the online community. She is kind, thoughtful and crazy talented. I'm so excited that she's written this beautiful book! I am a big fan of quick quilts, so this book is right up my alley! The way these quilts are put together are really clever, I'm excited to stitch one up myself.

The question is, which one to choose first? I think my favorite quilt in the book is Roundabout! It looks so fancy, but it is a super straightforward construction. I love that!

You can find the book for sale in
Amy's shop (signed by Amy), the
Martingale website (includes a copy of the e-book too), and on
Amazon!
(Cover by Martingale. Last three photos by Amy Smart.)
Happy Quilting!